I Make My Own Cleaning Products: These Are The Recipes That Actually Work

When you purchase through links on our site, we may earn a commission. Here’s how it works.
After falling prey to one too many #CleanTok videos, I realized my cleaning cabinet was full of products I’d used once and never touched again. Some didn’t work nearly as well as promised, while others were so harsh I couldn’t stand using them. So, I went back to basics.
Table of Contents
These are the homemade cleaning products that actually earn a spot in my routine, from my favorite everyday all-purpose spray to simple solutions for floors, glass, bathrooms, laundry stains, and more. I’ll show you exactly what you need, how to make each cleaner, and where it works best.
I’ll also share a few popular DIY cleaning tricks that aren’t as effective as they seem, ingredients you should never mix, and the times when a homemade cleaner isn’t the best choice.
What You’ll Need To Make Your Own Cleaning Products
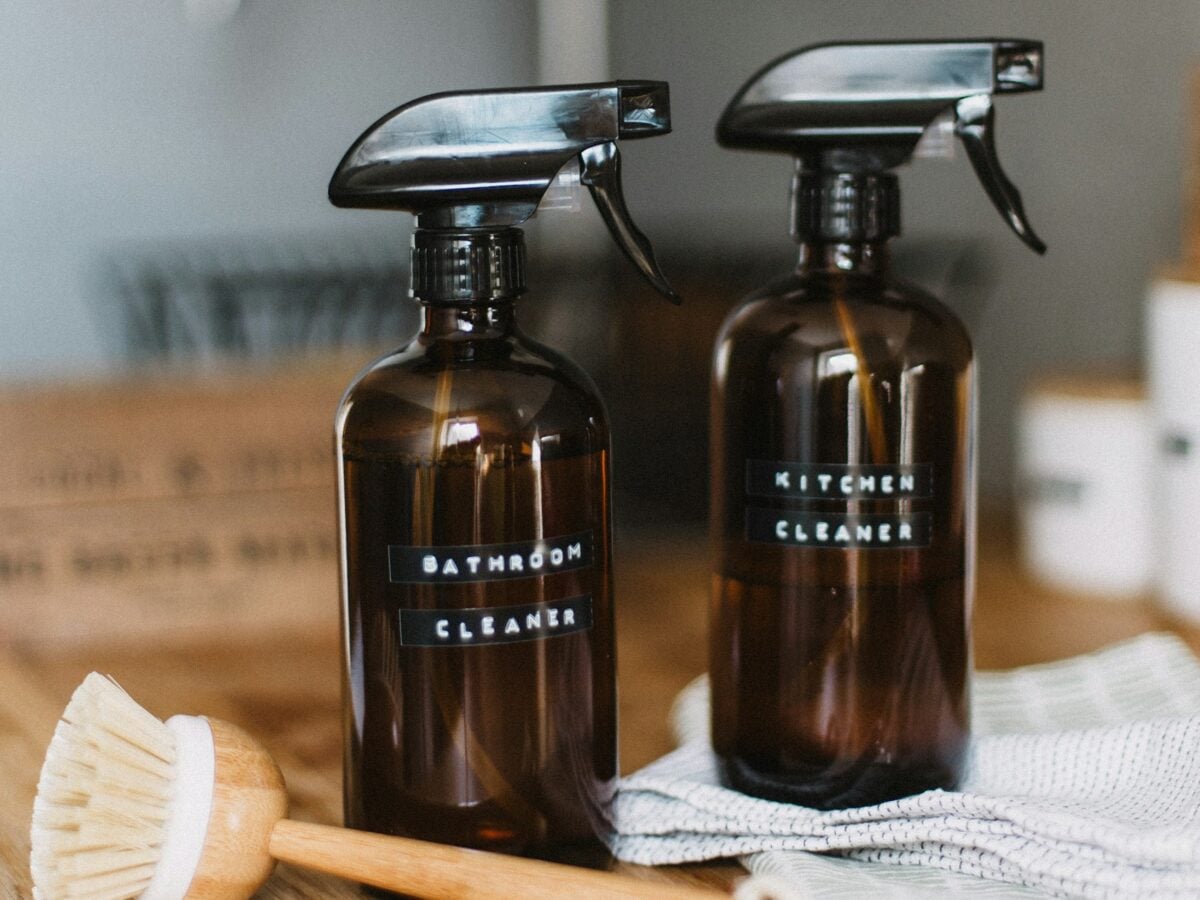
The great thing about making cleaning products at home is that you don’t need dozens of ingredients. The same handful of basics show up again and again in the recipes below, so once you have them on hand, you can make cleaners for nearly every room in your house.
Shopping List
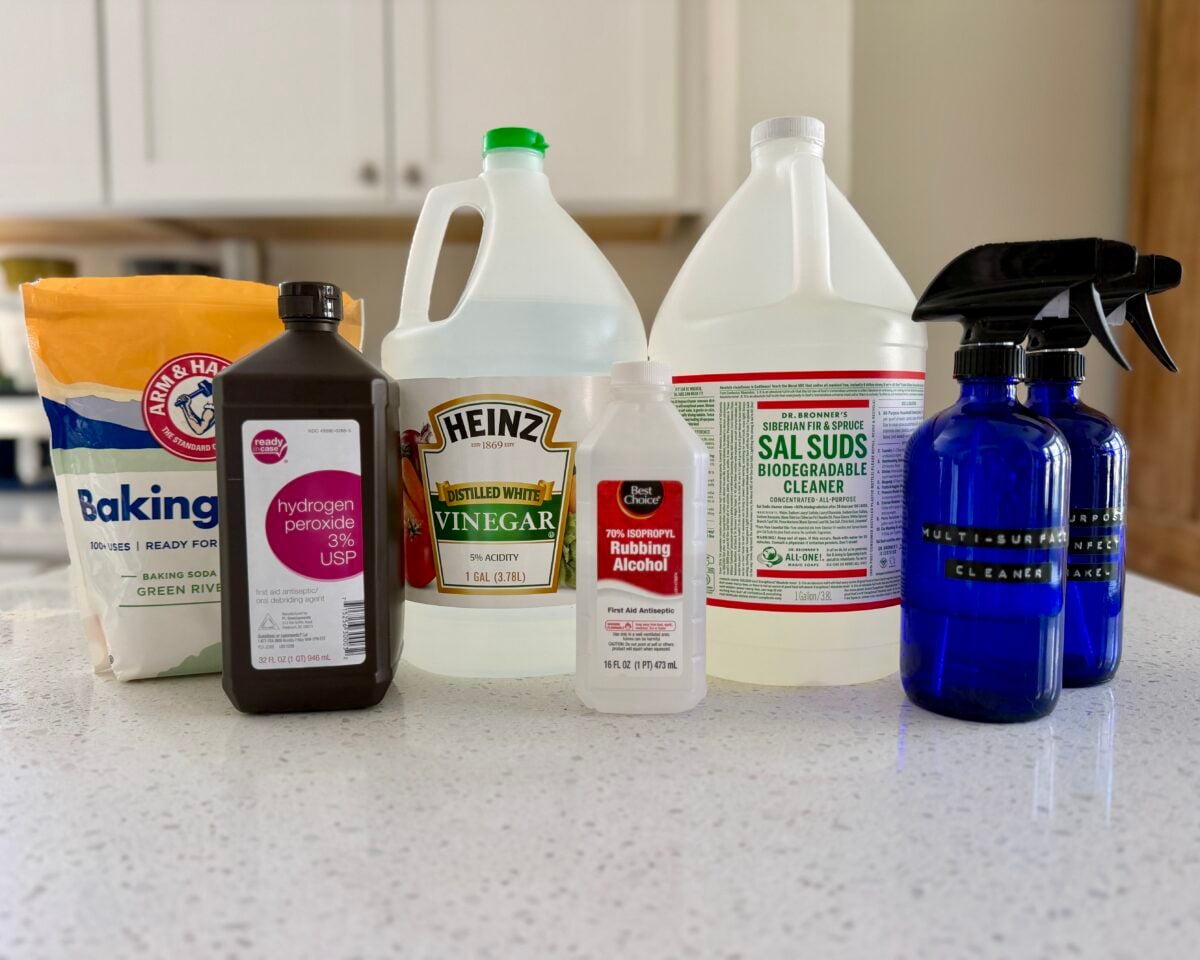
- Baking soda: A gentle abrasive that’s especially useful when you need a little scrubbing power. I use it for tougher jobs like sinks, tubs, showers, grout, and baked-on grime.
- Distilled white vinegar: The acidity makes vinegar particularly useful for hard-water deposits, mineral buildup, and some everyday cleaning jobs. It isn’t safe for every surface, though, so don’t start spraying it everywhere just yet.
- Hydrogen peroxide: One of my go-tos for laundry stains and grout. It’s particularly useful when paired with baking soda for jobs that need more stain-lifting power.
- Isopropyl (rubbing) alcohol: Useful for homemade glass and mirror cleaner because it cuts through oily residue and evaporates quickly, helping minimize streaks.
- Dr. Bronner’s Sal Suds: A concentrated detergent cleaner made with plant-based surfactants that help lift grease and grime. It’s my go-to for all-purpose spray, laundry, sinks, tubs, showers, and more. A little goes a long way, and I love its natural pine scent.
- Essential oils: I like essential oils such as lemon or tea tree for added antimicrobial properties and a fresh scent. They’re optional, so you can leave them out if you’re sensitive to fragrance.
Sal Suds vs. Castile Soap: What’s The Difference?
If you’re familiar with Dr. Bronner’s, you may be wondering why I use Sal Suds instead of their classic Castile Soap. I actually keep both around, but for different jobs. I use Castile Soap to make my own hand soap, while Sal Suds is my pick for household cleaning.
Despite looking similar in the bottle, they aren’t the same thing. Castile Soap is a true soap made from vegetable oils, while Sal Suds is a detergent made with surfactants designed to cut through grease and grime. That extra cleaning power is why you’ll see Sal Suds show up again and again in my recipes below.
Optional/Specialty Ingredients
You can make most of the cleaners in this guide with the basics above. These additional ingredients are only needed for one recipe.
- Jojoba oil: A plant-derived liquid wax that’s highly resistant to oxidation, making it a good base for homemade wood polish.
- Beeswax: Adds body to the wood polish and creates a smooth, buffable finish. Pastilles are easiest to measure and melt, but grated beeswax works too.
Supplies
You’ll also want a few basic supplies for mixing, storing, and using your cleaners:
- Reusable spray bottles
- Microfiber cleaning cloths
- Scrub brush and/or old toothbrush
- Small glass jars or containers for pastes, scrubs, and polishes
- Measuring cups and spoons
- Funnel
- Tools to make labels (label-maker, tape and permanent marker)
- Baking soda shaker (optional, but handy)
- Double boiler or heat-safe bowl + saucepan (for wood polish)
Don’t buy everything just yet. You may not need every ingredient on this list depending on which cleaners you want to make. Each recipe below tells you exactly what you’ll need, and I’ll explain where each cleaner is safe to use.
8 Homemade Cleaners For (Almost) Every Job
Now that you have the basics, let’s put them to work. These are the homemade cleaning recipes I actually use around my home, along with exactly where I use them and where I don’t.
1. All-Purpose Cleaning Spray
If you only make one cleaner from this list, I’d start here. This is the spray I reach for again and again for everyday messes, and it couldn’t be much easier to make.
What you’ll need:
- 1 quart water
- 1 tablespoon Dr. Bronner’s Sal Suds
- 1-quart spray bottle
How to make it: Add the water to your spray bottle first, followed by the Sal Suds. Adding the water first helps prevent the mixture from foaming up while you’re making it. This is the same basic dilution recommended in Dr. Bronner’s Sal Suds dilution guide.
Regular tap water works just fine. If you have very hard water or tend to get mineral spots, you can use distilled water instead.
Use for: Countertops, sinks, sealed tile, appliance exteriors, painted or sealed wood, metal surfaces, and other everyday surfaces that can safely get wet.
Avoid using on: Waxed wood, natural stone unless approved for that specific surface, or anything that shouldn’t be exposed to water. When in doubt, check the manufacturer’s care instructions or spot-test an inconspicuous area first.
2. Disinfecting Spray
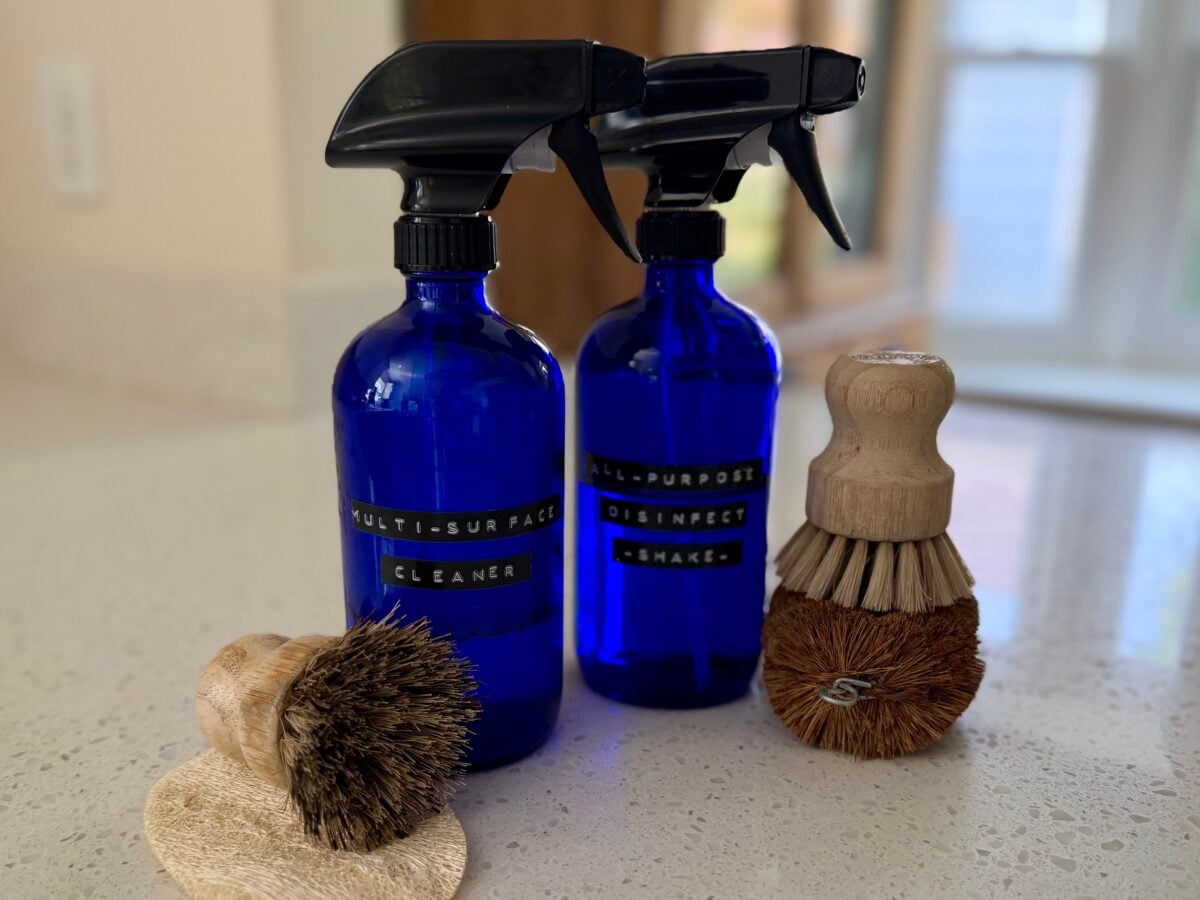
For everyday dirt and grime, my Sal Suds spray is usually all I need. When I want some extra antimicrobial power, I use this vinegar-based spray with rubbing alcohol, lemon essential oil, and tea tree essential oil.
What you’ll need:
- 1 cup water
- 1 cup distilled white vinegar
- 2 tablespoons isopropyl (rubbing) alcohol
- 20 drops lemon essential oil
- 20 drops tea tree essential oil
- Large glass spray bottle
How to make it: Add all the ingredients to a glass spray bottle and gently shake to combine. Shake again before each use.
How to use it: Spray the surface generously and let it remain wet for at least 5 minutes before wiping it clean. I typically leave mine for 5 minutes or longer.
Use for: Vinegar-safe, nonporous surfaces, including toilet seats, lids, handles, and exteriors; toilet brushes and holders; sinks; and other high-touch bathroom or kitchen surfaces.
Avoid using on: Natural stone, waxed or unfinished wood, electronics, and other surfaces that can be damaged by acids or alcohol. Always check the manufacturer’s care instructions when you’re unsure.
3. Glass & Mirror Cleaner
There’s nothing more annoying than cleaning a mirror only to step back and see streaks everywhere. This simple spray cuts through fingerprints, smudges, and film and dries quickly for a streak-free finish.
What you’ll need:
- ½ cup isopropyl (rubbing) alcohol
- ⅓ cup distilled white vinegar
- Distilled water
- 16-ounce spray bottle
How to make it: Add the rubbing alcohol and vinegar to a 16-ounce spray bottle, then fill the rest of the bottle with distilled water. Replace the sprayer and gently shake to combine.
How to use it: Lightly mist the surface and wipe with a clean, lint-free microfiber cloth. For mirrors, spray the cloth rather than soaking the mirror, particularly around the edges.
Use for: Windows, mirrors, glass tabletops, and other plain, uncoated glass surfaces.
Avoid using on: Electronic screens, natural stone, tinted or coated glass, or specialty glass with specific care instructions.
Why Distilled Water? Unlike tap water, distilled water doesn’t contain minerals that can get left behind as the water evaporates. This is one recipe where I think it’s worth using distilled water to help minimize spots and streaks.
4. All-Purpose Scrub
Sometimes my all-purpose spray needs a little extra muscle. Instead of making an entirely different cleaner, I add baking soda for gentle scrubbing power. I use this combination for some of the grimiest jobs around my house.
What you’ll need:
- All-Purpose Cleaning Spray (recipe above)
- Baking soda
- Scrub brush, sponge, or cleaning cloth
How to use it:
- Sinks, tubs & showers: Spray with the All-Purpose Cleaning Spray and sprinkle with baking soda. Clean with a brush or cloth, then rinse thoroughly with hot water.
- Ovens: Spray the interior with the All-Purpose Cleaning Spray and sprinkle with baking soda. Scrub with a brush or cloth, then wipe away the cleaner and residue thoroughly.
- Stainless steel: Spray with the All-Purpose Cleaning Spray and lightly sprinkle with baking soda. Wipe in the direction of the grain, then rinse and dry.
- Toilets: Spray the toilet bowl thoroughly with the All-Purpose Cleaning Spray, sprinkle baking soda onto a wet toilet brush, and scrub. Let it sit for about 10 minutes before flushing.
Use for: Sinks, tubs, showers, stainless steel, and other durable surfaces that can tolerate mild abrasion. For stainless steel, wipe in the direction of the grain and rinse thoroughly.
Avoid using on: Natural stone, glass, acrylic, delicate finishes, or other surfaces that can be scratched or damaged by abrasive cleaners. Spot-test first if you’re unsure.
5. Stain-Removing Paste
For stains that need more than my everyday cleaners, I turn to a simple combination of hydrogen peroxide and baking soda. I especially like this paste because I can use the same two ingredients for both laundry stains and dingy grout.
What you’ll need:
- Baking soda
- Hydrogen peroxide
- Small bowl or container
- Spoon for mixing
How to make it: Add baking soda to a small bowl, then slowly stir in enough hydrogen peroxide to create a thick, spreadable paste. I usually make only as much as I need for the job rather than storing it for later. Always spot-test first, particularly on colored or delicate fabrics, since hydrogen peroxide can lighten some dyes.
How I use it:
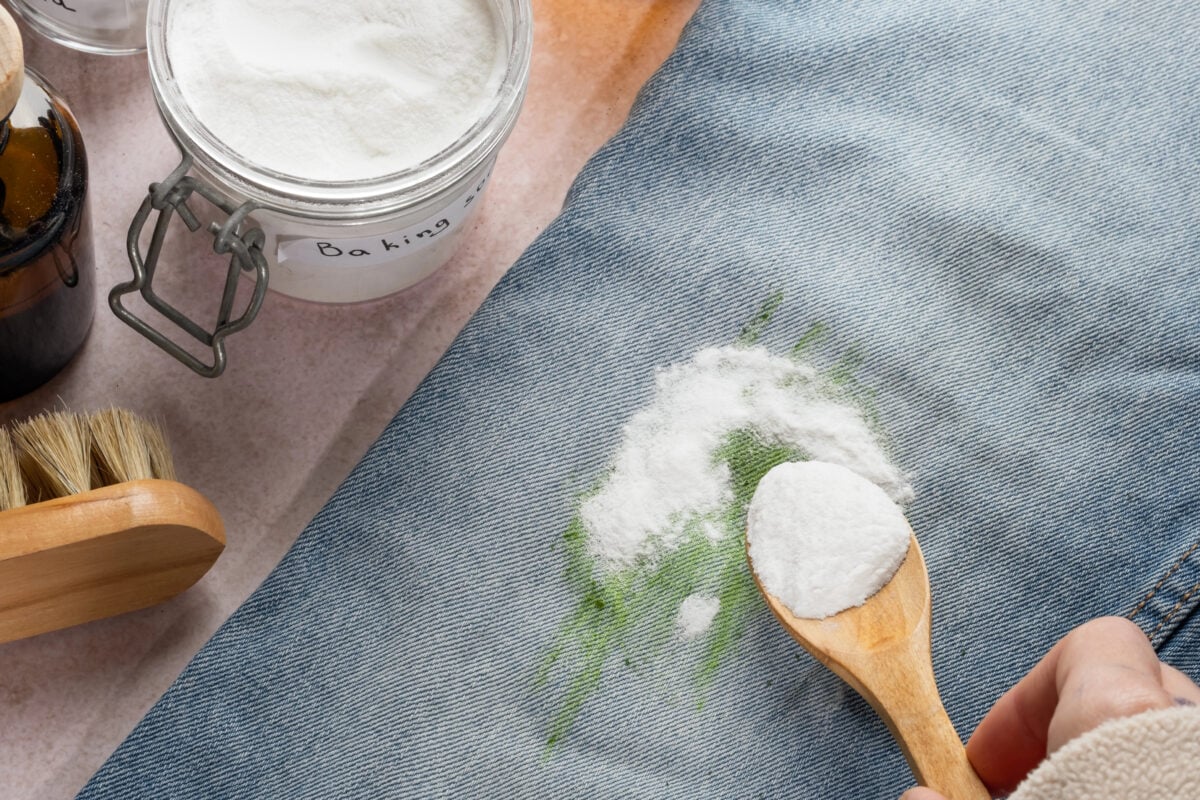
- Laundry stains: Apply the paste directly to the stain and gently work it into the fabric. You can also sprinkle the baking soda directly onto the stain and slowly add hydrogen peroxide to create the paste.
- Grout: Spread the paste over stained or dingy grout and let it sit before scrubbing with a grout brush or old toothbrush. Wipe away the residue and rinse thoroughly.
Avoid using on: Natural stone, delicate or non-colorfast fabrics, or other surfaces that could be damaged by hydrogen peroxide or the abrasive action of baking soda.
6. Homemade Floor Cleaner: 2 Ways
The best homemade floor cleaner depends on what you’re cleaning and how you’re cleaning it. For regular mopping, I like a small amount of Sal Suds for its dirt- and grease-lifting power. If you need a non-foaming option, diluted vinegar is another simple choice for floors that can safely handle acidic cleaners.
Option 1: Sal Suds Floor Cleaner
What you’ll need:
- 1 teaspoon (5 mL) Dr. Bronner’s Sal Suds
- 1 gallon hot water
- 20 drops tea tree essential oil (optional)
How to use it: Mix the Sal Suds into the water. Dunk a microfiber mop into the solution and wring it out thoroughly before mopping.
Use for: Compatible sealed wood, laminate, vinyl, stone, and tile floors that can safely be damp-mopped. On wood and laminate, avoid excess water and wipe up wet areas promptly.
Avoid using on: Unsealed or waxed floors or any flooring whose manufacturer recommends a different cleaning method.
Option 2: Non-Foaming Vinegar Floor Cleaner
If you’re looking for a simple cleaner without suds, diluted vinegar is another option. Because there’s no soap or detergent, this mixture won’t create the bubbles you can get with surfactant-based cleaners.
What you’ll need:
- 1 gallon warm water
- ½ cup distilled white vinegar
- 10–20 drops essential oil, such as lemon or tea tree (optional)
How to use it: Mix the ingredients in a mop bucket and damp-mop as usual, avoiding excess water.
Use for: Sealed, acid-safe flooring whose manufacturer permits diluted vinegar, such as some vinyl, laminate, and finished tile floors.
Avoid using on: Natural stone, unsealed floors, waxed floors, or any flooring whose manufacturer advises against acidic cleaners. Be especially careful with hardwood and laminate, since care recommendations vary by finish and manufacturer.
Using An Electric Mop? The vinegar version is non-foaming, which may make it an option for some electric mops, but check your machine’s instructions before putting vinegar or essential oils in the tank. I personally use Koala Eco Floor Cleaner concentrate in my electric mop. It uses a low-foaming, plant-based surfactant to help lift dirt and grime, so I find it more effective for messes than vinegar and water alone.
7. Carpet & Upholstery Cleaner
You don’t need to make another bottle of cleaner for carpet and upholstery. The All-Purpose Cleaning Spray can tackle small spots, while an extremely diluted amount of Sal Suds can be used for larger jobs with a compatible carpet-cleaning machine.
How to use:
- Carpet & rug spots: Use the All-Purpose Cleaning Spray sparingly on the spot. Blot with a damp cloth, then blot with a dry cloth to remove as much moisture as possible. Avoid saturating the carpet.
- Upholstery: Wet a clean cloth so it’s damp but not dripping, then lightly spray the cloth with All-Purpose Cleaning Spray. Gently rub the spot, then go over the area with a second clean, damp cloth to remove cleaner residue. Blot with a dry cloth to extract as much moisture as possible.
- Carpet-cleaning machines: If your machine permits cleaners other than the manufacturer’s formula, fill the cleaning-solution chamber with water and add just 1 drop of Sal Suds. If it has a separate rinse-water tank, you can add 1 cup (240 mL) distilled white vinegar to the rinse water, if permitted by the manufacturer.
Use for: Compatible carpets, rugs, and water-safe upholstery.
Avoid using on: Fabrics or rugs that aren’t water-safe or whose care instructions require professional or solvent-based cleaning. Always spot-test first.
8. Homemade Wood Polish
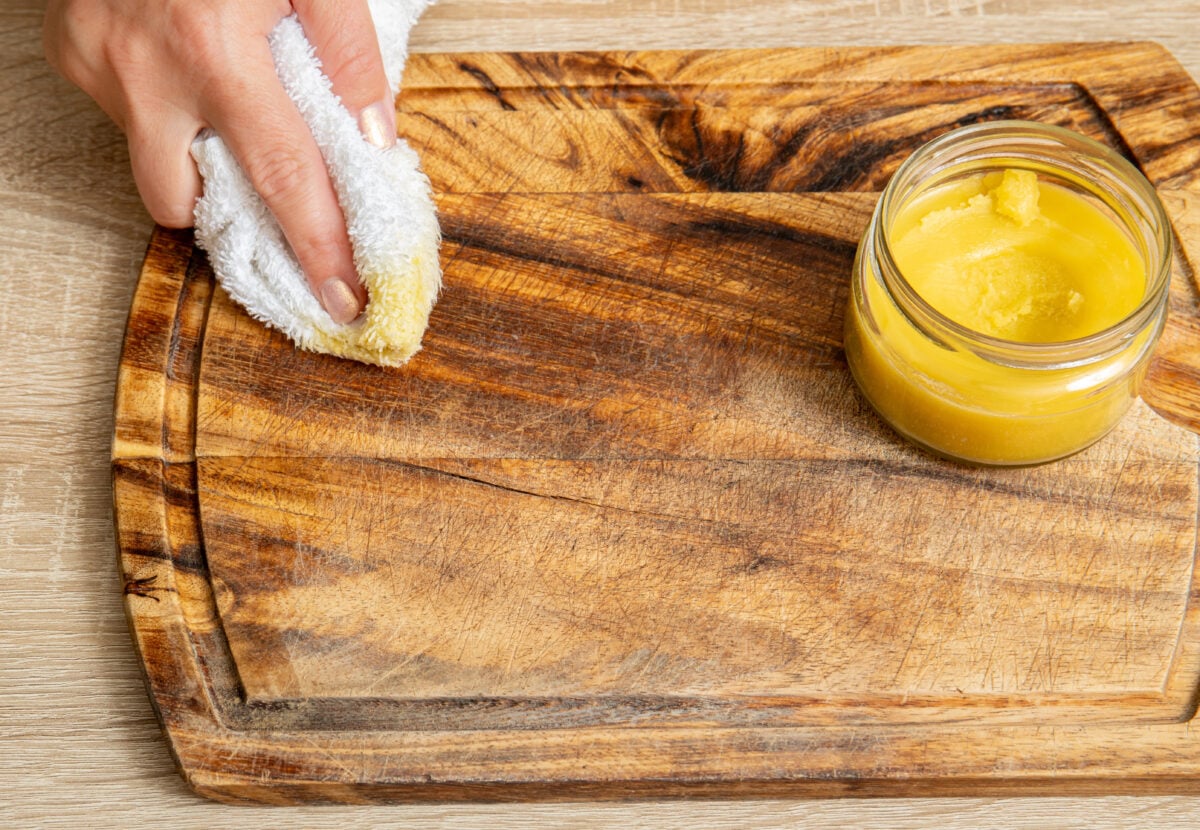
Wood polish is one of those products that’s surprisingly easy to make at home. This simple version uses just jojoba oil and beeswax to condition compatible wood and leave behind a smooth, buffable finish. You can also add a little lemon essential oil if you like a fresh scent.
What you’ll need:
- ½ cup jojoba oil
- ⅛ cup beeswax pastilles or grated beeswax
- 10–15 drops lemon essential oil (optional)
How to make it: Add the jojoba oil and beeswax to the top of a double boiler and heat gently until the beeswax is completely melted, stirring occasionally. Remove from the heat and stir in the lemon essential oil, if using. Pour into a small, wide-mouth glass jar and allow it to cool and harden before using.
Don’t Have A Double Boiler? Fill a saucepan with an inch or two of water and place a heat-safe glass or metal bowl over the top, making sure the bottom of the bowl doesn’t touch the water. Bring the water to a gentle simmer and melt your ingredients in the bowl.
How to use it: Pick up a small amount of polish with a clean, soft cloth and rub a thin layer into the wood. Buff thoroughly with a separate clean, dry cloth.
Use for: Compatible bare, oil-finished, or wax-finished wood furniture.
Avoid using on: Hardwood floors, painted wood, or sealed/lacquered/polyurethane-finished furniture unless the manufacturer specifically recommends a wax or oil polish. Always spot-test first.
More Cleaning Jobs That Don’t Need A Recipe
You’ve already got the basics on hand, so there’s no need to mix up another bottle for every cleaning job. Several household tasks need just one of the ingredients or cleaners we’ve already covered.
| Cleaning Job | What To Use | How To Use It |
|---|---|---|
| Laundry detergent | Sal Suds | Use 1–1½ Tbsp. for an HE washer. For extra whitening or brightening, add ¼ cup baking soda to the wash and/or ½ cup white vinegar to the rinse cycle. Double these amounts for a standard washer. |
| Fabric softener | White vinegar | Add ½ cup to the rinse cycle or fabric-softener compartment. Don’t pour it directly onto clothing. |
| Car exterior | Sal Suds | Add ½ Tbsp. to 3 gallons of water. Wash, then rinse thoroughly. |
| Car interior | All-Purpose Cleaning Spray | Spray onto a cloth and wipe compatible interior surfaces, then follow with a damp cloth. Spot-test first, especially on leather or specialty finishes. |
| Patio furniture | Sal Suds | Add ½ Tbsp. to a bucket of warm water. Wash with a sponge, microfiber cloth, or brush, then wipe or rinse clean. |
4 Common Homemade Cleaning Mistakes
Homemade cleaners can be incredibly useful, but DIY doesn’t automatically mean effective or appropriate for every job. A few popular cleaning tricks can actually make your cleaner less effective, leave behind residue, or damage the surface you’re trying to clean. Here are some of the mistakes I avoid.
1. Mixing Baking Soda & Vinegar
The dramatic fizz you get when you combine baking soda and vinegar certainly looks like it’s doing some serious cleaning, but that bubbling is actually the result of an acid-base reaction. Vinegar and baking soda react with and largely neutralize each other, leaving you with water, sodium acetate, and carbon dioxide gas.
The fizzing action can sometimes help physically loosen debris while the reaction is happening, but once the bubbling stops, you’ve lost much of what made the two ingredients useful on their own.
Instead, I pair baking soda with my All-Purpose Cleaning Spray when I need extra scrubbing power and with hydrogen peroxide for my Stain-Removing Paste. I save vinegar for jobs where its acidity is actually useful, like glass and mineral buildup.
2. Assuming Vinegar Can Clean Everything
I love white vinegar, but it isn’t the universal cleaner the internet sometimes makes it out to be. Its acidity is exactly what makes it useful for things like mineral deposits and glass, but that same acidity can damage certain materials and finishes.
Be particularly cautious with natural stone, waxed surfaces, and flooring or fixtures with specialty finishes. If you aren’t sure whether vinegar is compatible with something, check the manufacturer’s care instructions or spot-test first.
3. Using More Cleaner Than You Need
More soap doesn’t necessarily mean more cleaning power. In fact, using too much detergent can make your job harder by leaving residue behind.
That’s especially important with floors, carpets, and upholstery, where you don’t want detergent lingering on the surface or trapped in the fibers. Some of the Sal Suds dilutions in this guide may look surprisingly small, but resist the temptation to add an extra squirt for good measure.
4. Making Huge Batches That Sit Around For Months
A commercial water-based cleaner may contain preservatives and other ingredients designed to keep the formula stable during storage. Your homemade mixture probably doesn’t.
Cleaning Ingredients You Should Never Mix
Not every bad DIY cleaning combination is merely ineffective. Some common household cleaners can produce dangerous gases or other harmful compounds when mixed.
This is one area where experimenting isn’t worth it. Keep cleaners in their original containers when possible, label homemade mixtures clearly, and never combine products unless you know the ingredients are compatible.
| Never Mix | Why |
|---|---|
| Hydrogen peroxide + vinegar in the same container | Can form peracetic acid, which is highly irritating and potentially corrosive. |
| Bleach + rubbing alcohol | Can create hazardous chemical byproducts. Don’t combine them. |
| Bleach + vinegar or other acids | Can release chlorine gas, which is dangerous to inhale. |
| Bleach + ammonia | Can release toxic chloramine gases that can cause coughing, breathing problems, chest pain, and other serious symptoms. |
When Homemade Cleaners Aren’t The Best Choice
I make a lot of my own cleaning products, but I don’t believe everything needs a DIY solution. Sometimes a product formulated and tested for a particular job is the safer or more effective choice.
1. Natural Stone & Specialty Finishes
Marble, travertine, limestone, and other natural stones can be surprisingly sensitive to acids, abrasives, and even products that are perfectly safe elsewhere in your home. The same goes for some furniture, flooring, plumbing fixtures, and specialty coatings. I follow the manufacturer’s or fabricator’s care recommendations rather than experimenting with DIY recipes.
2. Electronics
Screens and electronic devices can have delicate coatings and manufacturer-specific cleaning requirements. I don’t use my general household sprays on them unless the manufacturer specifically says the ingredients are safe.
3. Robot Mops, Carpet Cleaners & Other Machines
A homemade cleaner might be perfectly fine for your floor but not for the machine cleaning it. Foaming, acids, oils, or other ingredients can cause problems with some equipment. Check the machine’s instructions before putting anything homemade in its tank.
4. Delicate Fabrics & Upholstery
Silk, velvet, vintage textiles, non-colorfast fabrics, and upholstery with solvent-only care codes aren’t where I experiment with homemade spot cleaners. Check the care label first and use a specialty cleaner or professional cleaning when appropriate.
5. Serious Mold Problems
Cleaning a small amount of surface mildew is very different from dealing with extensive mold growth, recurring moisture problems, or mold inside walls and other building materials. Those situations may require remediation rather than another homemade spray.
The point isn’t to make everything yourself. It’s to know which simple homemade cleaners work well for everyday jobs and when reaching for something more specialized makes more sense.
Frequently Asked Questions
Once you start making your own cleaners, it’s easy to end up with questions about substitutions, storage, surfaces, and which ingredients actually work together. Here are a few of the questions that come up most often when making homemade cleaning products.
Don’t see your question? Respond in the comments, and we’ll get back to you!
Are Homemade Cleaning Products Actually Effective?
They can be. Surfactants such as Sal Suds help lift oils and grime, mild abrasives such as baking soda provide scrubbing power, and acids such as vinegar can be useful for certain types of mineral buildup.
The key is matching the cleaner to the job. A homemade glass cleaner doesn’t need to disinfect, and a good everyday surface cleaner doesn’t need to dissolve hard-water deposits. Homemade cleaners become much more useful when you stop expecting one ingredient to do everything.
How Long Do Homemade Cleaning Products Last?
It depends on the recipe. Simple mixtures of shelf-stable ingredients may last longer than water-based recipes containing ingredients that can support microbial growth, but homemade products haven’t necessarily been formulated or preserved for long-term storage.
I make manageable batches, store them in clean, clearly labeled containers, and replace anything that develops an unusual odor, appearance, or texture. When a recipe is especially easy to make fresh, there’s little reason to store a huge batch.
Can I Add Essential Oils To Any Homemade Cleaner?
No. Essential oils are optional in most of my recipes, and more isn’t necessarily better. Oils don’t readily mix with water on their own, may damage certain materials, and can be inappropriate for some cleaning machines.
If you have pets or young children, there are additional exposure considerations, so don’t assume an essential oil is automatically harmless because it’s plant-derived.
Can I Substitute Dish Soap For Sal Suds?
For some basic cleaning jobs, a mild liquid dish detergent can provide similar surfactant action, but I wouldn’t automatically substitute it at the same measurement. Dish detergents vary in concentration, ingredients, and foaming.
The measurements throughout this guide are based on Sal Suds. If you’re substituting another detergent, start with a small amount and follow its manufacturer’s dilution recommendations when available.
Can I Mix Baking Soda & Vinegar For Cleaning?
You can, and the immediate fizzing reaction can help mechanically loosen some debris. But they also neutralize one another, so I generally get more cleaning value by using them separately.
For scrubbing, I use baking soda with my All-Purpose Cleaning Spray. For stain removal, I pair it with hydrogen peroxide instead.
Do I Need Distilled Water For Homemade Cleaners?
Usually not. Regular tap water is fine for many of the recipes in this guide.
I do prefer distilled water for my Glass & Mirror Cleaner, especially if you have hard water, because it doesn’t contain the minerals that can contribute to spotting and streaks.
Are Homemade Cleaners Safe For Every Surface?
No, and this is probably the most important rule in this entire guide. A cleaner that’s perfectly safe on one surface can damage another.
Natural stone, specialty finishes, electronics, delicate fabrics, unsealed wood, and some flooring require extra care. When you’re uncertain, check the manufacturer’s instructions and test the cleaner in a small, inconspicuous area first.
Ready To Tackle Your Next DIY Project?
Once you realize how much you can do with a few simple ingredients, it’s hard not to start looking for other things to simplify around the house. If you’d rather buy some of your cleaners, learn what to look for (and what to avoid) in our guide to green cleaning products. Or, take your DIY skills outside with these homemade weed killer recipes.
And if you’re looking for another way to make small changes around the house, check out these easy ways to conserve energy and lower your power bill.