When you purchase through links on our site, we may earn a commission. Here’s how it works.
Preparing and cooking steak is a process that can be intimidating for the average person. How do you cook it to get the perfect sear, without overcooking? How do you know when to flip it over and finish cooking it? What preparation is needed before turning on the stove?
Table of Contents
One critical way to ensure the perfect result is to choose the right cookware. And, once you know how to cook a steak in a cast iron skillet, you’ll never look back!
Here’s how to make sure your steak is cooked perfectly from start to finish.
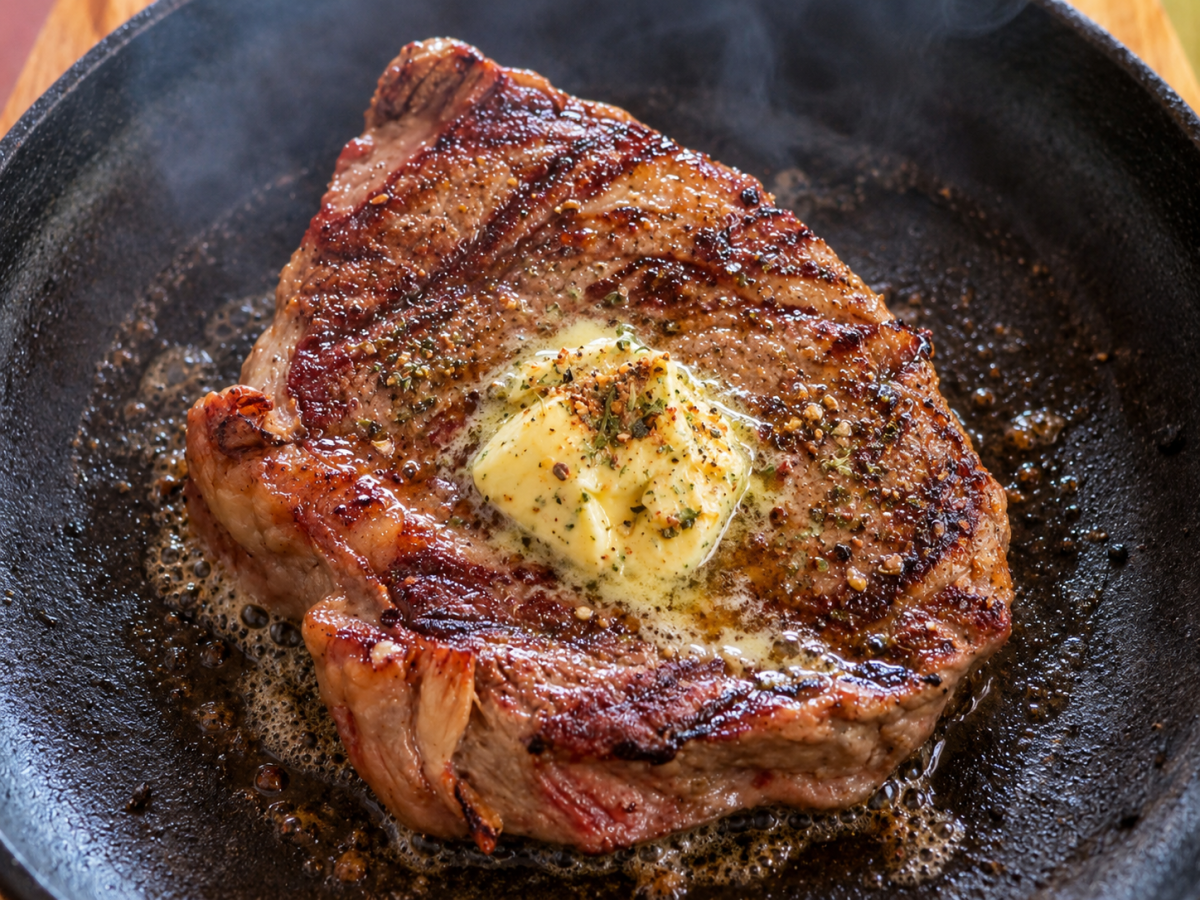
Start Here: The Secret To A Great Cast Iron Steak
You don’t need a long ingredient list or complicated technique to make a great steak. Focus on these basics:
- Choose a steak about 1 to 1 1/2 inches thick. A thicker steak gives you more time to develop a crust without overcooking the center.
- Pat the steak very dry. Surface moisture slows browning and can cause the steak to steam instead of sear.
- Season it well. Salt is essential, while pepper and other seasonings can be adjusted to your taste.
- Get the cast iron skillet hot. The pan needs enough stored heat to keep searing when the cooler steak hits its surface.
- Start with a small amount of high-heat cooking oil. Save the butter for later so it doesn’t burn during the initial high-heat sear.
- Sear both sides, then add butter and aromatics. Once the crust starts to develop, butter, garlic, and herbs can add another layer of flavor.
- Use an instant-read thermometer. Steak thickness and stove temperature vary too much for cooking time alone to tell you when it’s done reliably.
- Let the steak rest before slicing. Give it a few minutes before you reach for the knife.
If you remember only three things, remember this: Start with a dry steak, use a properly heated skillet, and give the meat enough contact with the hot pan to brown. Those three details do much of the work behind a good cast iron crust.
Why Cast Iron Works So Well For Steak
A cast iron skillet is especially good at holding onto heat. When you place a cool piece of meat into a lightweight pan, its surface temperature can drop quickly. Cast iron’s heat retention helps it stay hot enough to continue searing the steak.
Want our human-written content to rank above AI-generated garbage? Help us out by clicking this button!
That high heat also encourages the Maillard reaction, a series of chemical reactions responsible for much of the browning, aroma, and complex flavor we associate with a beautifully seared steak. The brown crust isn’t just there to make dinner look impressive; it brings a tremendous amount of flavor with it.
Moisture works against that process, which is why drying the steak before it reaches the skillet matters so much. A wet surface has to lose that moisture before it can brown efficiently. In practical terms, a few paper towels before cooking can do more for your crust than another handful of seasonings.
Choosing The Best Steak For A Cast Iron Skillet
You can cook plenty of cuts in cast iron, but some are especially well suited to a hot skillet and a good sear. Ribeye, New York strip, filet mignon, and sirloin are all good places to start.
- Ribeye: Generous marbling gives ribeye its rich flavor and juicy texture. The fat also browns beautifully in a hot cast iron skillet.
- New York strip: Slightly leaner than ribeye, strip steak still has plenty of beefy flavor and enough fat to develop a flavorful crust.
- Filet mignon: This tenderloin cut is prized for its buttery tenderness rather than heavy marbling. Because it’s lean, keep a close eye on the internal temperature to avoid cooking it beyond your preference.
- Sirloin: A good option if you want a more affordable steak. Sirloin is relatively lean but still takes well to a hard cast iron sear.
Does Steak Thickness Matter?
Yes. For this method, look for steaks around 1 to 1 1/2 inches thick when possible. Very thin steaks can cook through before you have enough time to build a substantial crust, while very thick steaks may benefit from finishing in the oven.
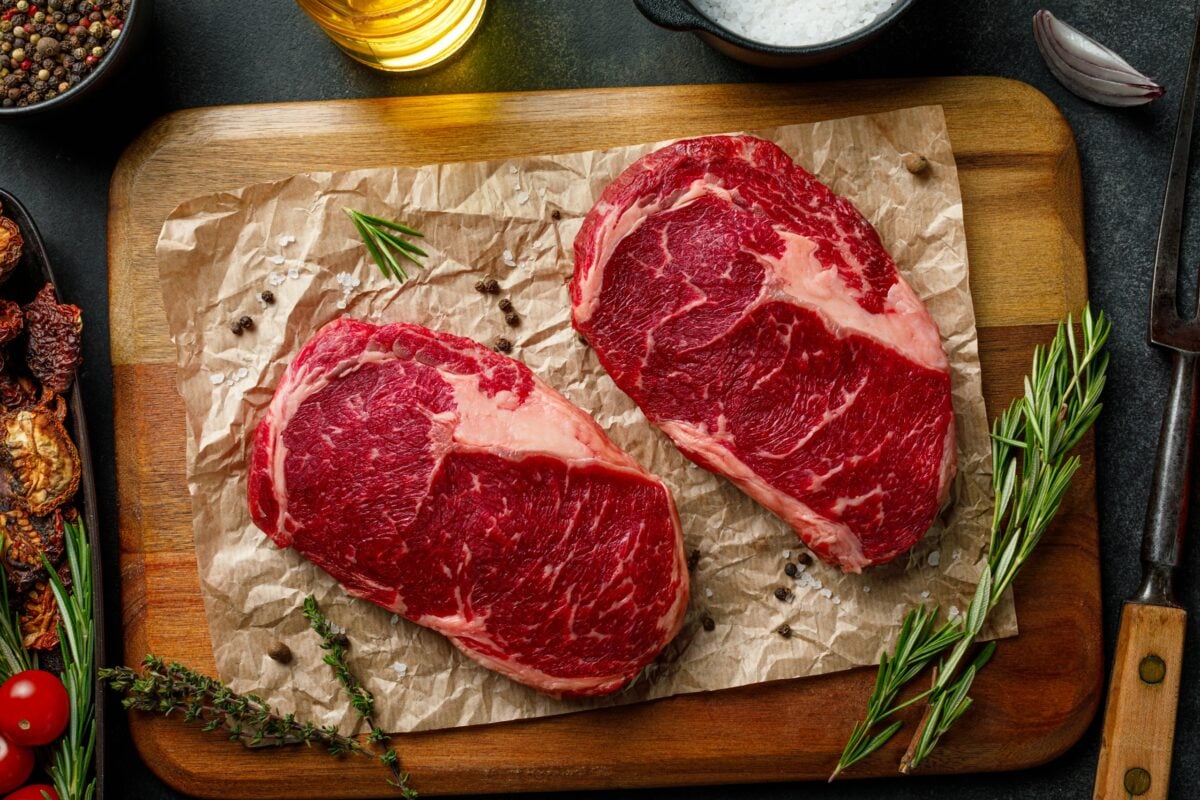
How To Prepare Steak For The Best Crust
A great sear starts before the steak ever reaches the skillet. The most important step is simple: pat the surface thoroughly dry with paper towels. Surface moisture has to evaporate before browning can really get underway, so a damp steak spends valuable cooking time steaming instead of developing that flavorful crust.
Next comes salt. If you have time to plan ahead, salt the steak and leave it uncovered in the refrigerator for at least 40 minutes or, even better, overnight. The salt initially draws moisture to the surface, but given enough time, that salty liquid is reabsorbed into the meat while the exterior dries.
No time to wait? Season the steak with salt immediately before it goes into the skillet. The awkward window is roughly three to 40 minutes after salting, when moisture has been drawn to the surface but hasn’t had enough time to be reabsorbed.
You may have also heard that steak needs to sit on the counter until it reaches room temperature before cooking. You can skip the long wait. Letting a steak sit out for 30 minutes or even an hour does relatively little to raise its internal temperature, and it isn’t necessary for a good sear.
The Best Oil & Seasonings For Cast Iron Steak
Steak doesn’t need much help in the seasoning department. Salt and freshly ground black pepper are enough for a classic version, though you can add garlic powder or another favorite steak seasoning if you prefer.
For the initial sear, choose a neutral cooking oil that can handle high heat. Avocado, canola, vegetable, and grapeseed oil are all practical choices. You only need enough to coat the cooking surface lightly.
What about butter? Save it for later.
Butter contains milk solids that can brown and eventually burn under the intense heat used for searing. Adding it after the initial crust develops lets you take advantage of its flavor without leaving it in a screaming-hot skillet for the entire cooking process.
This is also when fresh aromatics shine. A few smashed garlic cloves and sturdy herbs such as thyme or rosemary can flavor the foaming butter as you spoon it over the steak.
How To Cook A Steak In A Cast Iron Skillet
Once your steak is dry and seasoned, the actual cooking process moves quickly. Have your oil, butter, aromatics, tongs, and instant-read thermometer nearby before you start.
1. Preheat The Cast Iron Skillet
Place your cast iron skillet over medium-high to high heat and let it heat thoroughly for several minutes. Cast iron takes longer to warm than some cookware, but that stored heat is exactly what makes it so useful for searing.
You want the pan very hot before the steak goes in. If the oil smokes heavily right away, you’ve gone hotter than necessary. Adjust the burner as needed rather than treating maximum heat as the goal.
2. Add The Oil & Steak
Add enough high-heat oil to lightly coat the skillet, then carefully place the steak in the pan. You should hear an immediate, vigorous sizzle.
Set the steak down so as much of its surface as possible makes contact with the skillet. Then leave it alone long enough for browning to begin rather than repeatedly lifting it to check underneath.
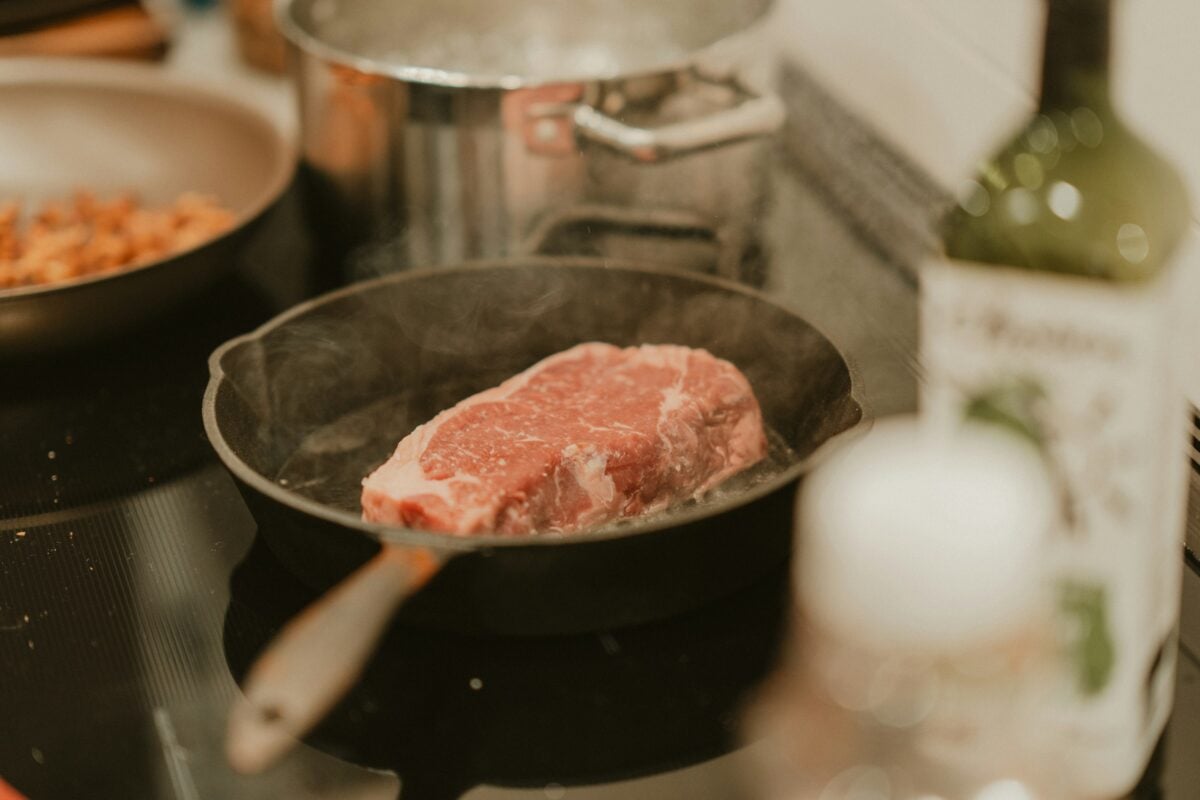
3. Flip & Continue Searing
Once the first side has developed good browning, flip the steak with tongs and begin searing the other side.
You don’t have to follow the old rule that steak should only be flipped once. Turning it more than once won’t cause all the juices to escape, and periodically flipping the steak can encourage more even cooking. Focus on the crust and internal temperature rather than counting flips.
If your steak has a thick strip of exterior fat, use the tongs to hold that edge against the hot skillet briefly. This helps brown and render some of the fat instead of leaving a pale, chewy strip along the side.
4. Add Butter, Garlic & Herbs
Once the steak has developed good color on both sides, lower the heat slightly and add a few tablespoons of butter. For extra flavor, add smashed garlic cloves and a few sprigs of thyme or rosemary.
As the butter melts and foams, carefully tilt the skillet so it pools along one side. Use a spoon to repeatedly scoop the hot, aromatic butter over the steak. This is butter basting, and it adds flavor while continuing to brown the steak’s surface.
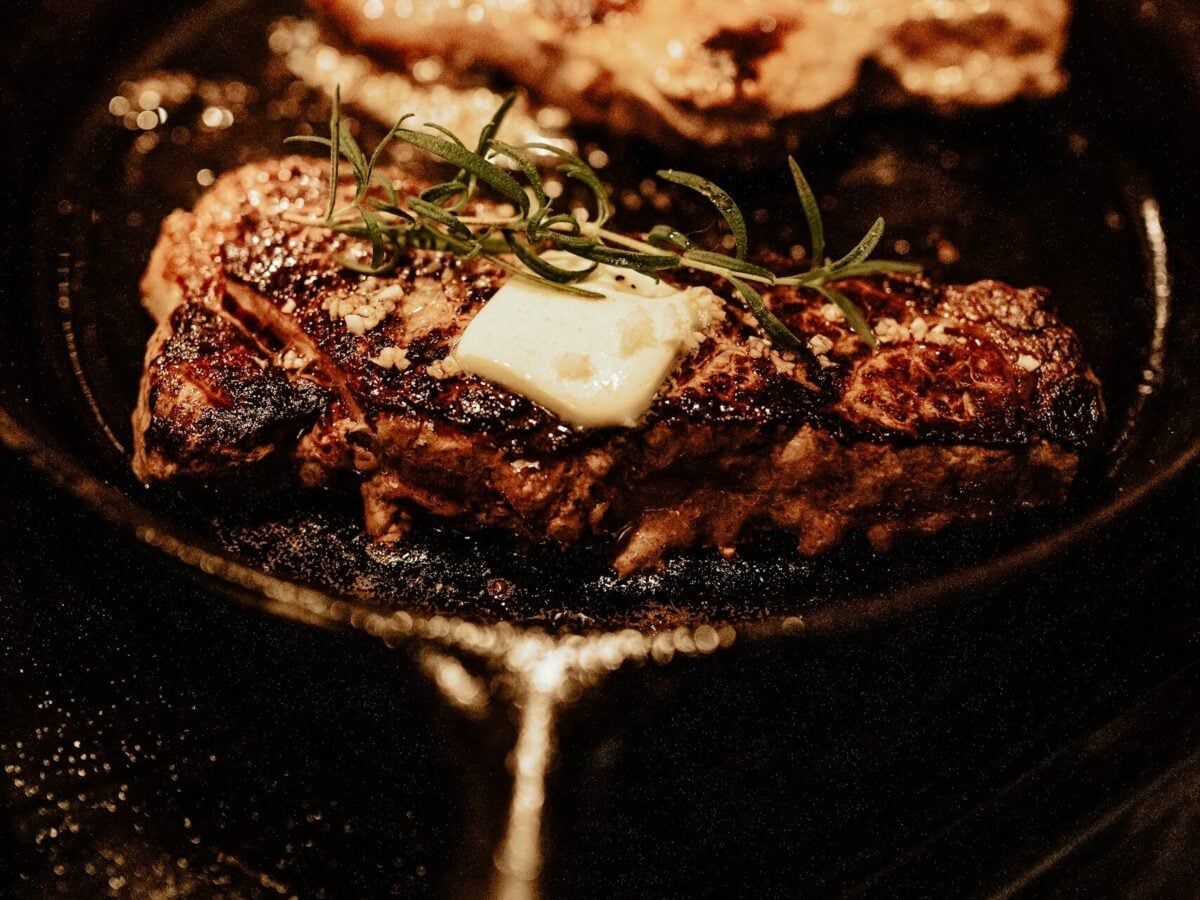
5. Start Checking The Temperature
Don’t wait until you think the steak must be finished to reach for the thermometer. Start checking early, particularly with a thinner steak.
Insert an instant-read thermometer into the thickest part of the meat, avoiding large pockets of fat or bone. Temperature is a much more reliable guide than a fixed number of minutes per side, since steak thickness, cut, burner strength, pan temperature, and desired doneness can all change the cooking time.
Steak Temperature & Doneness Guide
Cooking time can give you a rough idea of when to check your steak, but internal temperature is a much better guide. Insert an instant-read thermometer into the thickest part of the steak, away from the bone and large pockets of fat.
| Doneness | Final Internal Temperature |
|---|---|
| Rare | 120-130°F |
| Medium-rare | 130-135°F |
| Medium | 135-145°F |
| Medium-well | 145-155°F |
| Well-done | 155°F and above |
Keep in mind that your steak will continue to cook after it leaves the skillet. For an individual steak, removing it from the heat about 5°F before your target temperature is a useful starting point, although the amount of carryover cooking varies with the steak’s thickness and cooking conditions.
Food safety note: The USDA recommends cooking whole cuts of beef to a minimum internal temperature of 145°F, followed by at least a three-minute rest. That means rare and medium-rare temperatures fall below the USDA’s recommended minimum for food safety.
Resting & Slicing Your Steak
Once the steak reaches your desired temperature, transfer it to a plate or cutting board and resist the temptation to slice into it immediately. A short rest gives the temperature inside the meat time to become more even before you cut and serve it.
For most individual steaks, about five to 10 minutes is a practical resting window. Larger and thicker cuts may benefit from a little more time.
Remember that the steak can continue cooking after it leaves the skillet. This carryover cooking is why it’s helpful to start checking the internal temperature before you think the steak is finished and pull it slightly before it reaches your target.
When you’re ready to serve, slice against the grain when appropriate. Cutting across the direction of the muscle fibers shortens them, which can make each bite easier to chew.
6 Common Cast Iron Steak Mistakes
Cast iron is forgiving, but a few small mistakes can stand between you and that deeply browned crust. If your steak is coming out pale, unevenly cooked, or tougher than you expected, start here.
1. Putting A Wet Steak In The Skillet
Moisture is one of the biggest obstacles to browning. If the outside of your steak is wet, that water has to evaporate before the surface can develop a good crust.
Pat the steak thoroughly dry with paper towels before seasoning and cooking. This is especially important if you’ve just removed it from packaging or a marinade.
2. Not Heating The Skillet Enough
Cast iron takes some time to heat thoroughly. If you add the steak too soon, you may end up slowly cooking the exterior instead of quickly developing a sear.
Let the skillet preheat for several minutes before adding oil and steak. At the same time, hotter isn’t automatically better. If the oil smokes heavily, reduce the heat.
3. Starting With Butter
Butter can burn during the initial high-heat sear. Start with a high-heat cooking oil, then add butter, garlic, and herbs once the steak has developed good color.
4. Crowding The Pan
Trying to fit one more steak into the skillet can work against the crust you’re trying to create. Multiple cool steaks also pull heat from the pan, and crowding makes it harder to manage each piece of meat.
If your steaks don’t fit comfortably without touching, cook them in batches. A little patience here is better than sacrificing the sear on an expensive cut of beef.
5. Relying On Cooking Time Alone
“Three minutes per side” sounds wonderfully simple until you consider how different two steaks can be. Thickness, cut, starting temperature, skillet temperature, and even your stove can change how quickly a steak cooks.
Use time to remind yourself when to start checking, rather than as proof that the steak is done. An instant-read thermometer gives you much more useful information.
6. Cutting Into The Steak Immediately
That crust makes it tempting to grab a knife immediately, but give the steak five to 10 minutes first. Use the wait to finish the rest of dinner, set the table, or deal with the very greasy cast iron skillet waiting on your stove.
A Note About Beef & Sustainability
Because this is Earth’s Friends, it’s worth acknowledging that beef has a larger environmental footprint than many other foods. Producing beef requires land and resources and generates substantially more greenhouse gas emissions per kilogram of food than plant-based protein sources such as beans and peas.
If reducing your diet’s environmental impact is a priority, eating beef less often can make a bigger difference than simply looking for beef labeled “local.”
Where and how cattle are raised can still matter. Farming practices, land management, animal welfare, and other priorities may influence which steak you choose to buy. However, a label such as “local” alone doesn’t guarantee that one steak has a smaller overall environmental footprint than another.
Frequently Asked Questions
Once you have the basic cast iron method down, a few practical questions tend to come up. Here’s what to know before you start experimenting with different steaks, pans, and cooking methods.
Don’t see your question? Respond in the comments, and we’ll get back to you!
Can You Cook Steak In Cast Iron Without Oil?
You can, particularly with a well-marbled cut such as ribeye, but a small amount of high-heat oil makes the process easier and more consistent. Oil helps transfer heat between the skillet and the steak’s surface, encouraging more even contact and browning.
You don’t need much. A thin coating of avocado, canola, vegetable, or grapeseed oil is enough for the initial sear.
Can You Cook A Frozen Steak In A Cast Iron Skillet?
Yes, but the technique differs from the method described above. A frozen steak can develop a seared exterior while the center remains cool enough to finish cooking gradually, but thicker steaks typically need additional cooking after the initial sear.
For your first cast iron steak, a thawed steak is the simpler option. It’s easier to season, dry thoroughly, monitor, and cook using the method in this guide.
What Size Cast Iron Skillet Is Best For Steak?
A 10- to 12-inch cast iron skillet works well for most home cooks. A 10-inch skillet generally has enough room for one good-sized steak, while a 12-inch skillet gives you more cooking surface for larger cuts or, depending on their size, two steaks.
Whatever size you use, avoid packing the pan tightly. Leaving room around the meat helps the skillet maintain the high heat needed for a good sear.
Cleaning Your Cast Iron After Cooking Steak
Dinner is finished, but now there’s a greasy skillet on the stove with a few stubborn browned bits stuck to the bottom. Fortunately, cleaning cast iron doesn’t have to undo all the work you’ve put into seasoning your pan.
Let the skillet cool enough to handle safely, then clean it while the residue is still relatively easy to remove. Our guide to how to clean a cast iron skillet walks through removing stuck-on food, washing the pan, drying it thoroughly, and maintaining its seasoning.