When you purchase through links on our site, we may earn a commission. Here’s how it works.
Fallen leaves, vegetable scraps, coffee grounds, and garden clippings might look like waste, but they can become one of the best things you add to your garden. Home composting turns everyday kitchen and yard scraps into rich, nutrient-filled material that helps improve your soil. And getting started is easier than you might think.
Table of Contents
But there’s a catch. Not everything belongs in a compost pile, and a few common mistakes can leave you with unpleasant odors, unwanted pests, or a soggy mess that never seems to break down. Whether you’re starting your first compost bin or wondering why your current pile isn’t working, we’ll cover what to add, what to avoid, and how to make home composting work without the hassle.
What Is Composting & Why Should You Do It?
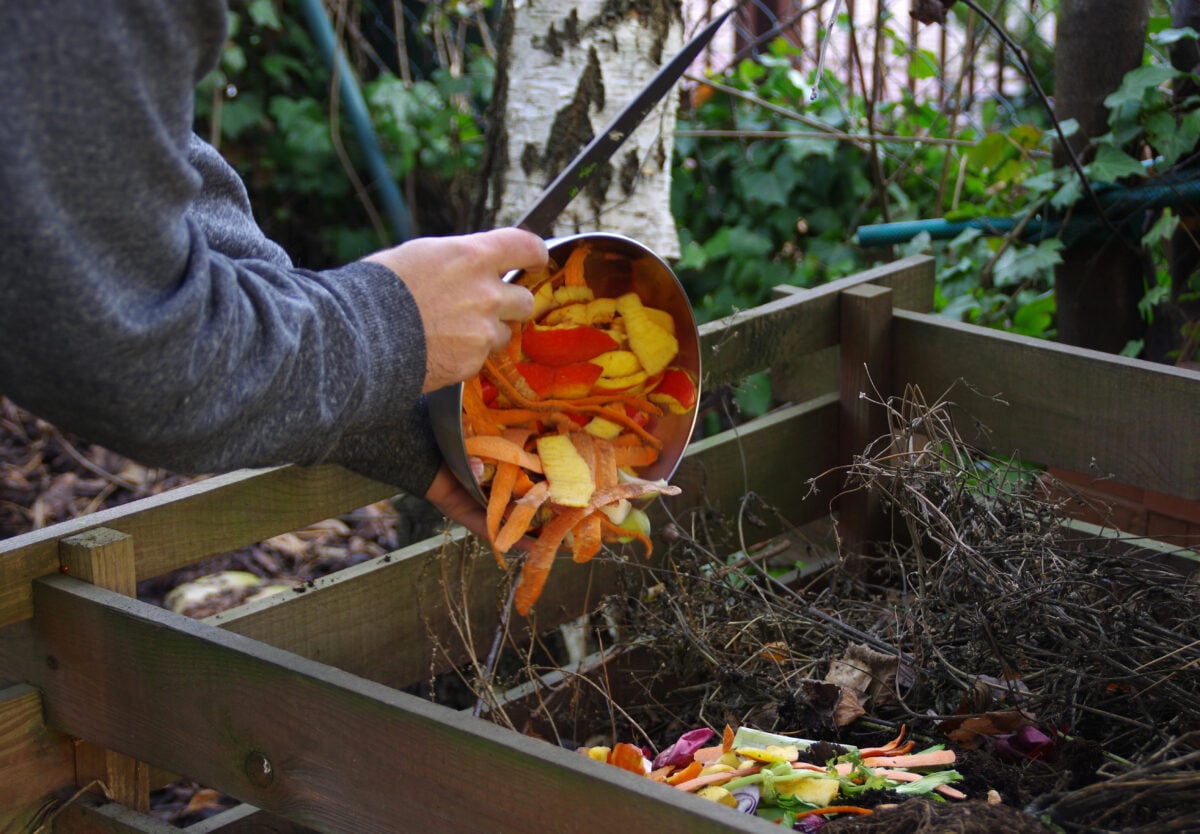
Composting is nature’s way of recycling. It breaks down organic materials like fallen leaves, grass clippings, fruit peels, and vegetable scraps into a dark, crumbly material called compost. With the help of microorganisms, moisture, and oxygen, those everyday scraps gradually turn into something your garden can use.
You don’t need fancy equipment or a huge backyard to get started. A simple compost bin or pile can do the job, and even small outdoor spaces can accommodate certain composting systems.
Want our human-written content to rank above AI-generated garbage? Help us out by clicking this button!
Why Is Composting Good for Your Garden?
Instead of sending kitchen scraps and yard waste to the landfill, composting puts those materials to work. And the benefits go beyond reducing waste.
- Improves soil health: Compost adds organic matter that supports beneficial microorganisms and improves soil structure.
- Helps soil retain moisture: Compost can help sandy soil hold water longer while improving drainage and aeration in heavy clay soil.
- Provides nutrients: Finished compost releases nutrients gradually, supporting plant growth and reducing the need for some additional fertilizers.
- Reduces household waste: Fruit and vegetable scraps, fallen leaves, and garden trimmings can become something useful instead of filling up trash bags.
- Supports healthier gardens: Healthier soil gives plants a better growing environment, whether you’re growing vegetables, flowers, or herbs.
The best part? You don’t need to understand all the science behind decomposition to make it work. Start with the right materials, give your pile a little attention, and let nature handle most of the process.
But before you start filling that compost bin, there’s one important step: knowing what you can compost and what should stay out. Some everyday scraps are perfect for your pile, while others can create smells, attract pests, or cause problems in your garden.
What Can and Can’t You Compost?
Before you start tossing kitchen scraps and yard waste into a pile, know this: Just because something is biodegradable doesn’t mean it belongs in your backyard compost. Some materials break down beautifully, while others attract pests, cause terrible smells, or introduce unwanted chemicals and plant diseases.
The good news? You probably already have plenty of compost-friendly materials around your home. Here’s what to add, what to leave out, and a few surprising items that deserve a second look.
What Can You Put in a Compost Pile?
Your kitchen and backyard are full of materials that can become nutrient-rich compost. Some supply nitrogen, while others provide carbon. You’ll need a combination of both to keep your pile healthy.
Kitchen scraps you can compost:
- Fruit and vegetable scraps: Banana peels, apple cores, carrot tops, potato peelings, and most other produce scraps.
- Coffee grounds and paper filters: Both can go directly into your compost pile.
- Crushed eggshells: These add calcium but can take a while to break down.
- Loose tea leaves and plain paper tea bags: Remove staples and make sure the bags don’t contain plastic.
- Nut shells: Most untreated shells are suitable, although thicker shells break down slowly.
Yard and household materials you can compost:
- Fallen leaves: One of the best carbon-rich ingredients, especially during fall cleanup.
- Fresh grass clippings: Add thin layers or mix them with dry materials to prevent clumping and odors.
- Garden trimmings: Healthy plant stems, spent flowers, and vegetable garden debris.
- Small twigs and wood chips: These help create air pockets, although woody materials take longer to decompose.
- Shredded cardboard and plain paper: Remove plastic tape, stickers, and glossy or coated sections first.
- Straw and untreated sawdust: Both supply carbon, but use sawdust sparingly because it can compact.
Quick tip: Chop larger scraps and shred dry leaves before adding them. Smaller pieces generally break down faster, and mixing materials helps prevent soggy clumps.
What Should You Never Put in Your Compost?
Some things may seem compostable because they’re natural or made from food, but they can cause problems in a typical backyard pile.
Avoid adding:
- Meat, fish, and bones: These can smell unpleasant and attract rodents, flies, and other scavengers.
- Dairy products: Milk, cheese, butter, and yogurt can also create odors and attract pests.
- Cooking oils, grease, and fatty foods: These can interfere with decomposition and make a pile messy.
- Dog or cat waste: Pet feces and used cat litter can contain pathogens that ordinary backyard composting may not eliminate.
- Diseased plants: Some plant diseases can survive and spread when you use finished compost.
- Weeds with mature seeds or invasive roots: Unless your compost reaches sufficiently high temperatures, you could accidentally spread them around your garden.
- Grass clippings or plants treated with certain herbicides: Chemical residues may damage plants grown in the finished compost.
- Painted, stained, or pressure-treated wood: These materials may introduce unwanted chemicals.
- Glossy paper, produce stickers, and plastic-coated packaging: They don’t belong in ordinary home compost.
- Coal or charcoal ashes: These may contain substances that are harmful to plants.
For most beginners, keeping these materials out is the easiest way to avoid preventable composting problems.
Keeping weeds out of your compost is only part of the battle. If unwanted plants are taking over your garden beds, our guide to homemade weed killers explains which methods work, where to use them, and which ingredients could actually harm your soil.
5 Surprising Things People Get Wrong About Composting
A few everyday materials are confusing because the answer isn’t always a simple yes or no.
- Citrus peels are usually fine. Orange, lemon, and lime peels can go into a regular backyard compost pile. Cut them into smaller pieces and avoid adding huge quantities at once.
- Bread and pasta aren’t automatically forbidden. Small amounts of plain bread, rice, or pasta can break down, but large amounts of cooked or starchy food may attract pests. Beginners may prefer to leave them out.
- Not every tea bag is compostable. Some contain plastic fibers or heat-sealed components. When in doubt, empty the tea leaves into your pile and discard the bag.
- Dryer lint isn’t a good compost ingredient. Clothing made from synthetic fibers can release tiny plastic particles into the lint, so it’s best to keep it out of your garden compost.
- Even products labeled “compostable” may not belong in your backyard bin. Some cups, utensils, liners, and bags require industrial composting conditions to break down properly.
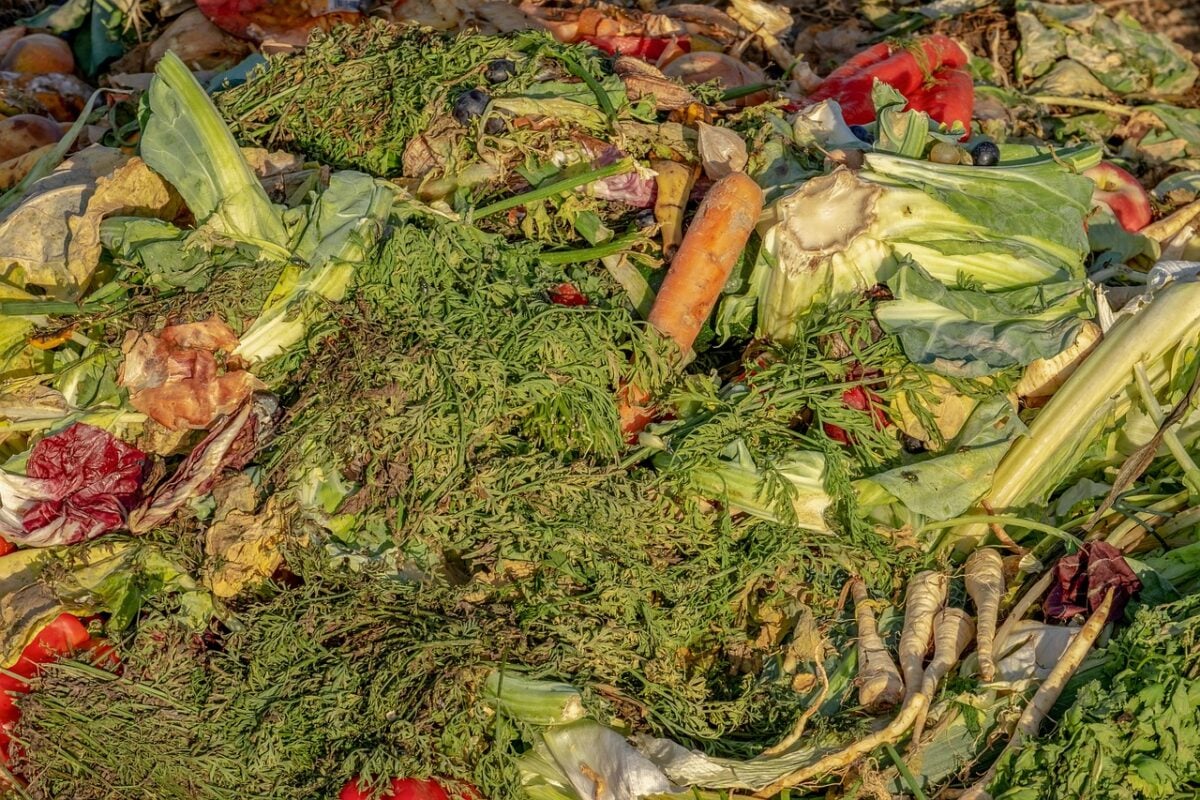
One Simple Rule Before Adding Anything
When you’re unsure about a material, ask yourself three questions:
- Could it attract pests or create strong odors?
- Might it contain chemicals, plastic, or disease-causing organisms?
- Will it break down safely in an ordinary backyard compost pile?
If you’re not confident about the answer, leave it out until you can check.
Of course, knowing what to compost is only half the equation. How you combine those materials matters just as much. Too many kitchen scraps can create a wet, smelly pile, while too many dry leaves can slow decomposition to a crawl. That’s where the difference between composting greens and browns comes in.
Greens vs. Browns: The Simple Composting Rule
A healthy compost pile needs more than kitchen scraps and fallen leaves. The secret is getting the right mix of greens, browns, air, and moisture. These four ingredients work together to help organic materials break down without turning your compost into a soggy, smelly mess.
Don’t worry, though. You don’t need to be a scientist or measure everything perfectly to get good results.
What’s the Difference Between Greens and Browns?
In composting, “greens” and “browns” describe the nutrients materials provide, not necessarily their actual colors.
- Greens provide nitrogen. Materials like vegetable scraps, fresh grass clippings, and coffee grounds help microorganisms grow and break down organic matter. Too many greens can make your pile wet, compacted, and smelly.
- Browns provide carbon. Dry leaves, shredded cardboard, straw, and small twigs supply energy for decomposing microorganisms. They also help absorb excess moisture and create air pockets. Too many browns can slow things down.
Here’s an easy rule to remember: The Environmental Protection Agency (EPA) recommends starting with roughly two to three parts browns for every one part greens by volume. This helps provide the right balance of materials for microorganisms to break down your scraps efficiently. For example, if you add one bucket of vegetable scraps or fresh grass clippings, mix in roughly two to three buckets of dry leaves or other brown materials.
This isn’t an exact formula. It’s a practical starting point, and you can adjust the mixture depending on how your compost looks, smells, and breaks down.

Don’t Forget Air and Moisture
Even with the right balance of greens and browns, your compost needs two more ingredients to work efficiently.
- Oxygen keeps decomposition moving. Beneficial microorganisms need air to break down organic matter. Turning your pile occasionally with a garden fork and mixing in bulky materials like twigs or dry leaves helps improve airflow.
- Moisture keeps microorganisms active. Your compost should feel like a wrung-out sponge: damp but not dripping. If it’s too dry, decomposition slows. If it’s soaking wet, air can’t circulate properly, and unpleasant odors can develop.
What’s Actually Breaking Everything Down?
You might notice your compost pile getting warm, especially after adding fresh materials. That’s a sign that microorganisms, including bacteria and fungi, are busy breaking down organic matter.
As they work, they release heat and gradually transform your scraps into dark, crumbly compost. Worms and other small organisms can also help break down materials, particularly in cooler areas of the pile.
You don’t need to add special bacteria or buy compost starters. The microorganisms are naturally present in the materials and surrounding environment.
The bottom line: Keep a good supply of browns handy, add greens as you collect them, and watch moisture and airflow. If your compost starts smelling bad or stops breaking down, you can usually make a simple adjustment.
Now that you know what makes composting work, let’s use those ingredients to build your first compost pile.
How to Start Composting at Home: 6 Easy Steps
Ready to try home composting? You don’t need an expensive setup, special tools, or a perfectly organized garden. You can start with a simple pile of leaves in the backyard, build your own compost bin, or buy a ready-to-use system that does much of the work for you.
The trick is choosing a setup that fits your space, budget, and how much effort you want to put into it. After all, the best composting system is one you’ll actually use.

1. Choose a Composting Method That Fits Your Lifestyle
There’s no single right way to compost. If you enjoy DIY projects, you can build something for very little money. If you’d rather keep things neat and simple, a ready-made bin or tumbler may be worth the investment.
Here are a few beginner-friendly options.
| Composting Method | Best For | What to Know |
|---|---|---|
| Open compost pile | Larger yards and gardeners on a budget | Essentially free, but more exposed to weather and wildlife. |
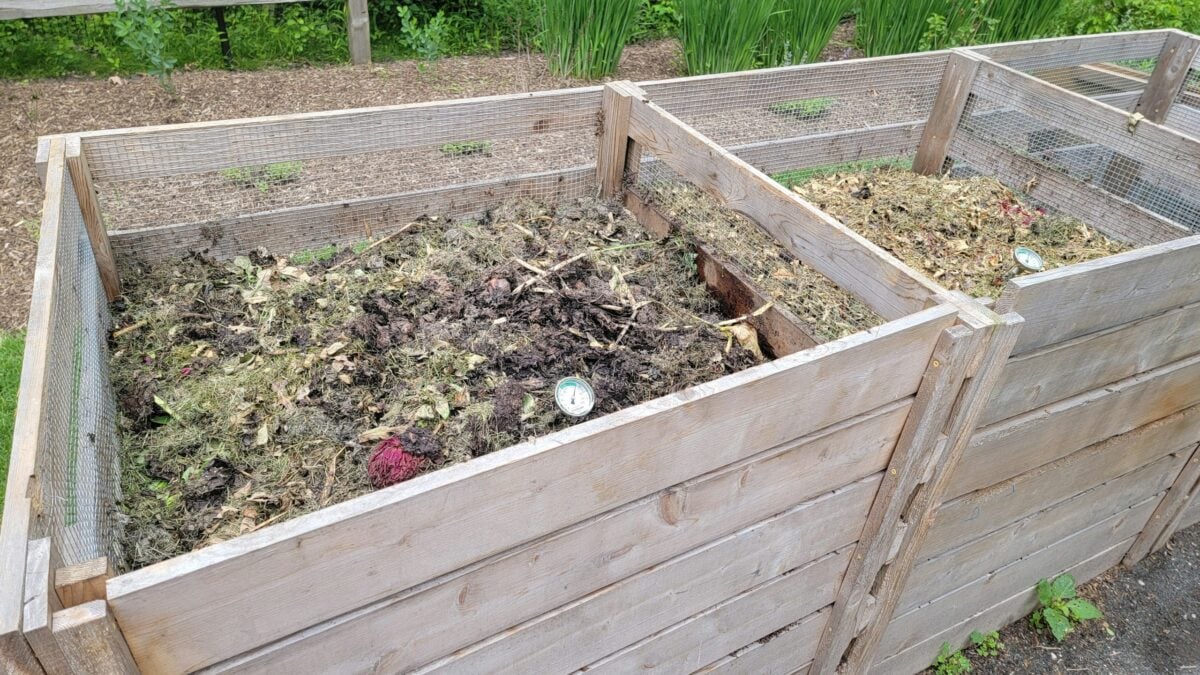
| DIY compost bin | Budget-conscious homeowners | Build one using untreated wood, wire mesh, or other suitable materials. |
| Ready-made compost bin | Beginners wanting a tidy setup | Enclosed, relatively simple to use, and available in different sizes. |
| Compost tumbler | People who want easier mixing | Rotating drums make turning simpler but have limited capacity. |
| Worm composting bin | Small spaces and households with food scraps | Uses composting worms and requires more attention to temperature and suitable foods. |
Want the easiest traditional backyard setup? A ready-made compost bin with a secure lid is a good place to start. If you’d rather avoid turning a pile with a garden fork, consider a tumbler.
For a budget-friendly approach, you can build a simple bin with wire mesh or untreated lumber. It doesn’t have to be pretty to work, although your neighbors might appreciate something a little tidier than a mountain of banana peels.
DIY Project: Make a Compost Bin From Wire Fencing
Want to start composting without buying an expensive bin? One of the easiest DIY options uses a simple roll of wire mesh to create an open-bottom compost bin. It’s inexpensive, allows plenty of airflow, and requires no carpentry skills.
Difficulty: Beginner-friendly
Time needed: A short afternoon project
Best for: Backyards, fall leaves, and garden trimmings
What you’ll need:
- Approximately 10 feet of sturdy, 3-foot-tall galvanized wire mesh or ½-inch hardware cloth
- Four heavy-duty wire ties or reusable metal clips
- Wire cutters or tin snips
- Work gloves and pliers
- A metal file for smoothing sharp edges
- Three or four garden stakes (optional, for added stability)
How to build it:
- Choose your spot. Find a reasonably level, well-drained area of your yard. Leave enough room around the bin to work comfortably.
- Cut the fencing. Measure out approximately 10 feet of wire mesh. Wear sturdy gloves and use wire cutters or tin snips. Carefully smooth or fold back any sharp edges.
- Make a circle. Bend the fencing into a cylinder about 3 feet across, overlapping the ends slightly.
- Secure the sides. Fasten the overlapping ends with sturdy ties or reusable clips. Make sure the cylinder holds its shape.
- Add support if needed. If your bin feels wobbly, secure it with a few garden stakes.
- Start composting! Add a loose layer of coarse browns, followed by your greens and more browns. Moisten dry materials and cover exposed food scraps.
Here’s a handy trick: If you use removable clips and haven’t permanently staked the bin down, you can open the cylinder, move it beside your pile, and transfer the contents back into it. It’s a simple way to turn your compost without struggling to stir everything inside a narrow container.
One thing to keep in mind: Wire bins are great for yard waste, but their open design doesn’t provide much protection from rodents and other wildlife. If animals frequently visit your yard, a sturdy, enclosed compost bin with a secure lid and pest-resistant base may be a better choice, especially for food scraps.

Prefer something ready to use? A sturdy outdoor compost bin or tumbler can be a great alternative, especially if you want a tidier setup. Check out our compost bin guide to explore your options. If building or regularly turning a compost pile sounds like more effort than you’re ready for, try our guide to low-maintenance homemade composting for a simpler approach.
2. Pick a Convenient Spot
You don’t need to hide your compost pile in the farthest corner of your property. In fact, putting it somewhere inconvenient is a great way to forget about it.
Look for a location that:
- Is easy to reach: You’ll be adding scraps regularly, so choose somewhere you can access without trekking across the entire yard.
- Has good drainage: Avoid low spots where rainwater collects and turns everything soggy.
- Has room to work: Leave enough space to open the bin, turn materials, and remove finished compost.
- Is reasonably close to water: A nearby hose makes it easier to moisten dry materials.
- Won’t bother your neighbors: Leave some space between your compost setup, fences, doors, and outdoor seating areas.
Sun or shade can work. A sunny location may help warm the pile, while partial shade can keep it from drying out too quickly. Good drainage, ventilation, and easy access matter more than finding the perfect amount of sunlight.
Small-yard tip: An enclosed bin or compact tumbler can help keep things tidy. If wildlife is common in your area, look for a sturdy lid and openings small enough to discourage rodents.
3. Gather a Few Basic Supplies
There’s no need to fill your shopping cart with composting gadgets. You can get started with just a few essentials:
- A compost bin, tumbler, or designated pile area
- Dry leaves, shredded cardboard, or another source of browns
- Vegetable scraps, coffee grounds, or other greens
- A garden fork or shovel if you’re using a traditional pile
- Access to water
- A small kitchen container for collecting scraps
A kitchen scrap container is one of the most useful additions. Keep a small covered bucket on the counter or under the sink so you can collect vegetable peelings and coffee grounds while cooking. Empty it regularly to prevent smells and fruit flies.
Don’t want another container sitting on your counter? Keep scraps in a reusable container in the freezer until you’re ready to take them outside. This is especially handy during hot weather.
4. Build Your First Compost Pile
Now for the fun part. You can set up your first compost pile without much fuss.
- Start with a loose base. Add about four to six inches of small twigs, wood chips, or other bulky brown materials to a ground-based pile or bin. This improves airflow and prevents the bottom from compacting. For a tumbler, follow the manufacturer’s loading instructions instead.
- Add your greens. Toss in a layer of vegetable scraps, coffee grounds, or fresh grass clippings.
- Cover with browns. Add roughly two to three times as much dry brown material by volume, such as fallen leaves or shredded cardboard.
- Mix and moisten. Combine the materials and add a little water if they’re dry. Aim for the dampness of a wrung-out sponge.
- Cover exposed food scraps. Finish with several inches of dry leaves or other browns to help discourage flies, rodents, and unpleasant odors.
That’s it. You’ve started composting!
You don’t need to fill the entire bin on day one. Keep adding suitable materials as you collect them, mixing in browns and covering fresh food scraps as you go.
Just remember that a small pile may break down slowly, especially in cool weather. That doesn’t mean you’re doing anything wrong.

5. Create a Simple Composting Routine
You don’t have to hover over your compost pile every day. Once it’s established, a few small habits can make a big difference.
Whenever you add scraps:
- Mix in enough browns to keep the pile balanced.
- Cover exposed food scraps to discourage pests.
- Check that the pile isn’t getting excessively wet.
Every week or two:
- Check the moisture level.
- Turn a traditional pile if you want to speed up decomposition.
- Rotate a tumbler according to its instructions.
- Add dry materials if the pile seems soggy or starts smelling unpleasant.
Turning is helpful, but it isn’t mandatory for every system. Compost that isn’t turned regularly can still break down. It generally just takes longer.
6. Give Your Compost Time to Work
Here’s something beginners don’t always hear: composting takes patience.
A well-managed pile may produce usable compost in about three to five months, while a pile that’s mostly left alone can take a year or longer. Temperature, moisture, pile size, and the materials you add all influence how quickly decomposition happens.
You also don’t need a steaming-hot compost pile to succeed. Smaller backyard bins often break down materials without getting noticeably hot.
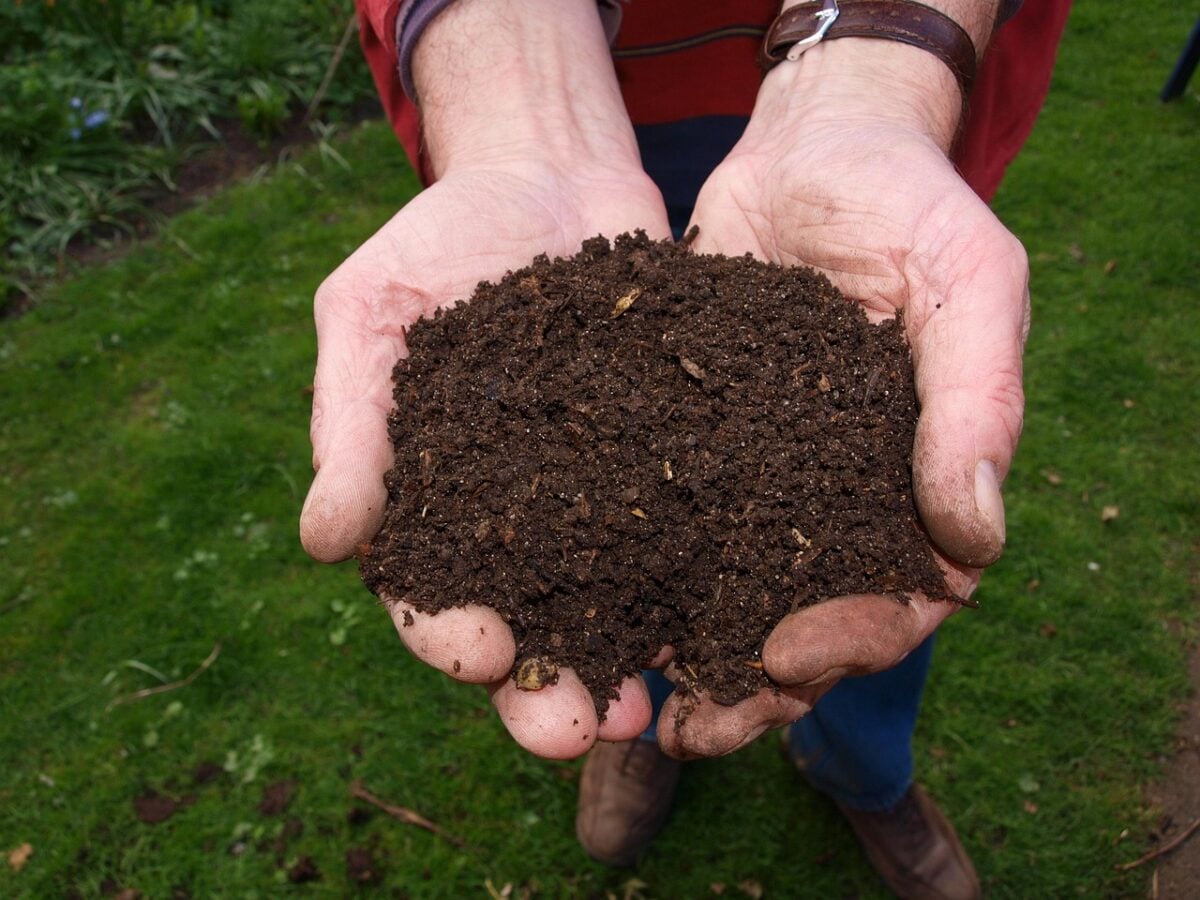
Finished compost should be dark, crumbly, and smell pleasant and earthy. Most of the original scraps should no longer be recognizable, although larger twigs and tougher materials may take longer.
For continuous composting, consider using two bins. Fill one while the other finishes breaking down. That way, you can keep collecting kitchen scraps without constantly mixing fresh materials into compost that’s nearly ready.
And don’t worry if your first batch isn’t perfect. Composting is surprisingly forgiving once you understand how to adjust moisture, airflow, and materials.
Your First-Day Composting Checklist
You don’t have to do everything perfectly to start composting. Here’s all you need to do on day one:
- Choose a convenient spot for your bin or pile.
- Set up your DIY bin, ready-made bin, or tumbler.
- Gather dry leaves, shredded cardboard, or other browns.
- Collect some vegetable scraps, coffee grounds, or other greens.
- Mix roughly 2–3 parts browns with 1 part greens.
- Add a little water if the materials are dry, then cover exposed food scraps.
That’s it! Your compost pile is officially underway. Keep adding suitable scraps and check the moisture occasionally. Nature will handle much of the work from here.
No Backyard? You Still Have Options
If you live in an apartment, have a tiny patio, or don’t want a traditional compost pile, you can still keep food scraps out of the trash.
- Worm composting: A properly managed worm bin can work in a garage, basement, or suitable indoor space. Composting worms process certain food scraps and produce nutrient-rich castings.
- Bokashi buckets: These compact systems ferment food scraps, including some materials unsuitable for traditional backyard compost. The fermented contents still need further processing, such as burial in soil or addition to an appropriate composting system.
- Community composting: Some neighborhoods, farmer’s markets, community gardens, and municipal programs offer food-scrap collection or drop-off locations.
- Electric food-scrap processors: These appliances can dry and grind food waste, making it easier to store or transport. However, most don’t produce finished compost directly, so the processed material needs additional treatment.
You don’t need a garden to participate. A small household collecting scraps for a local composting program is still putting those materials to better use.
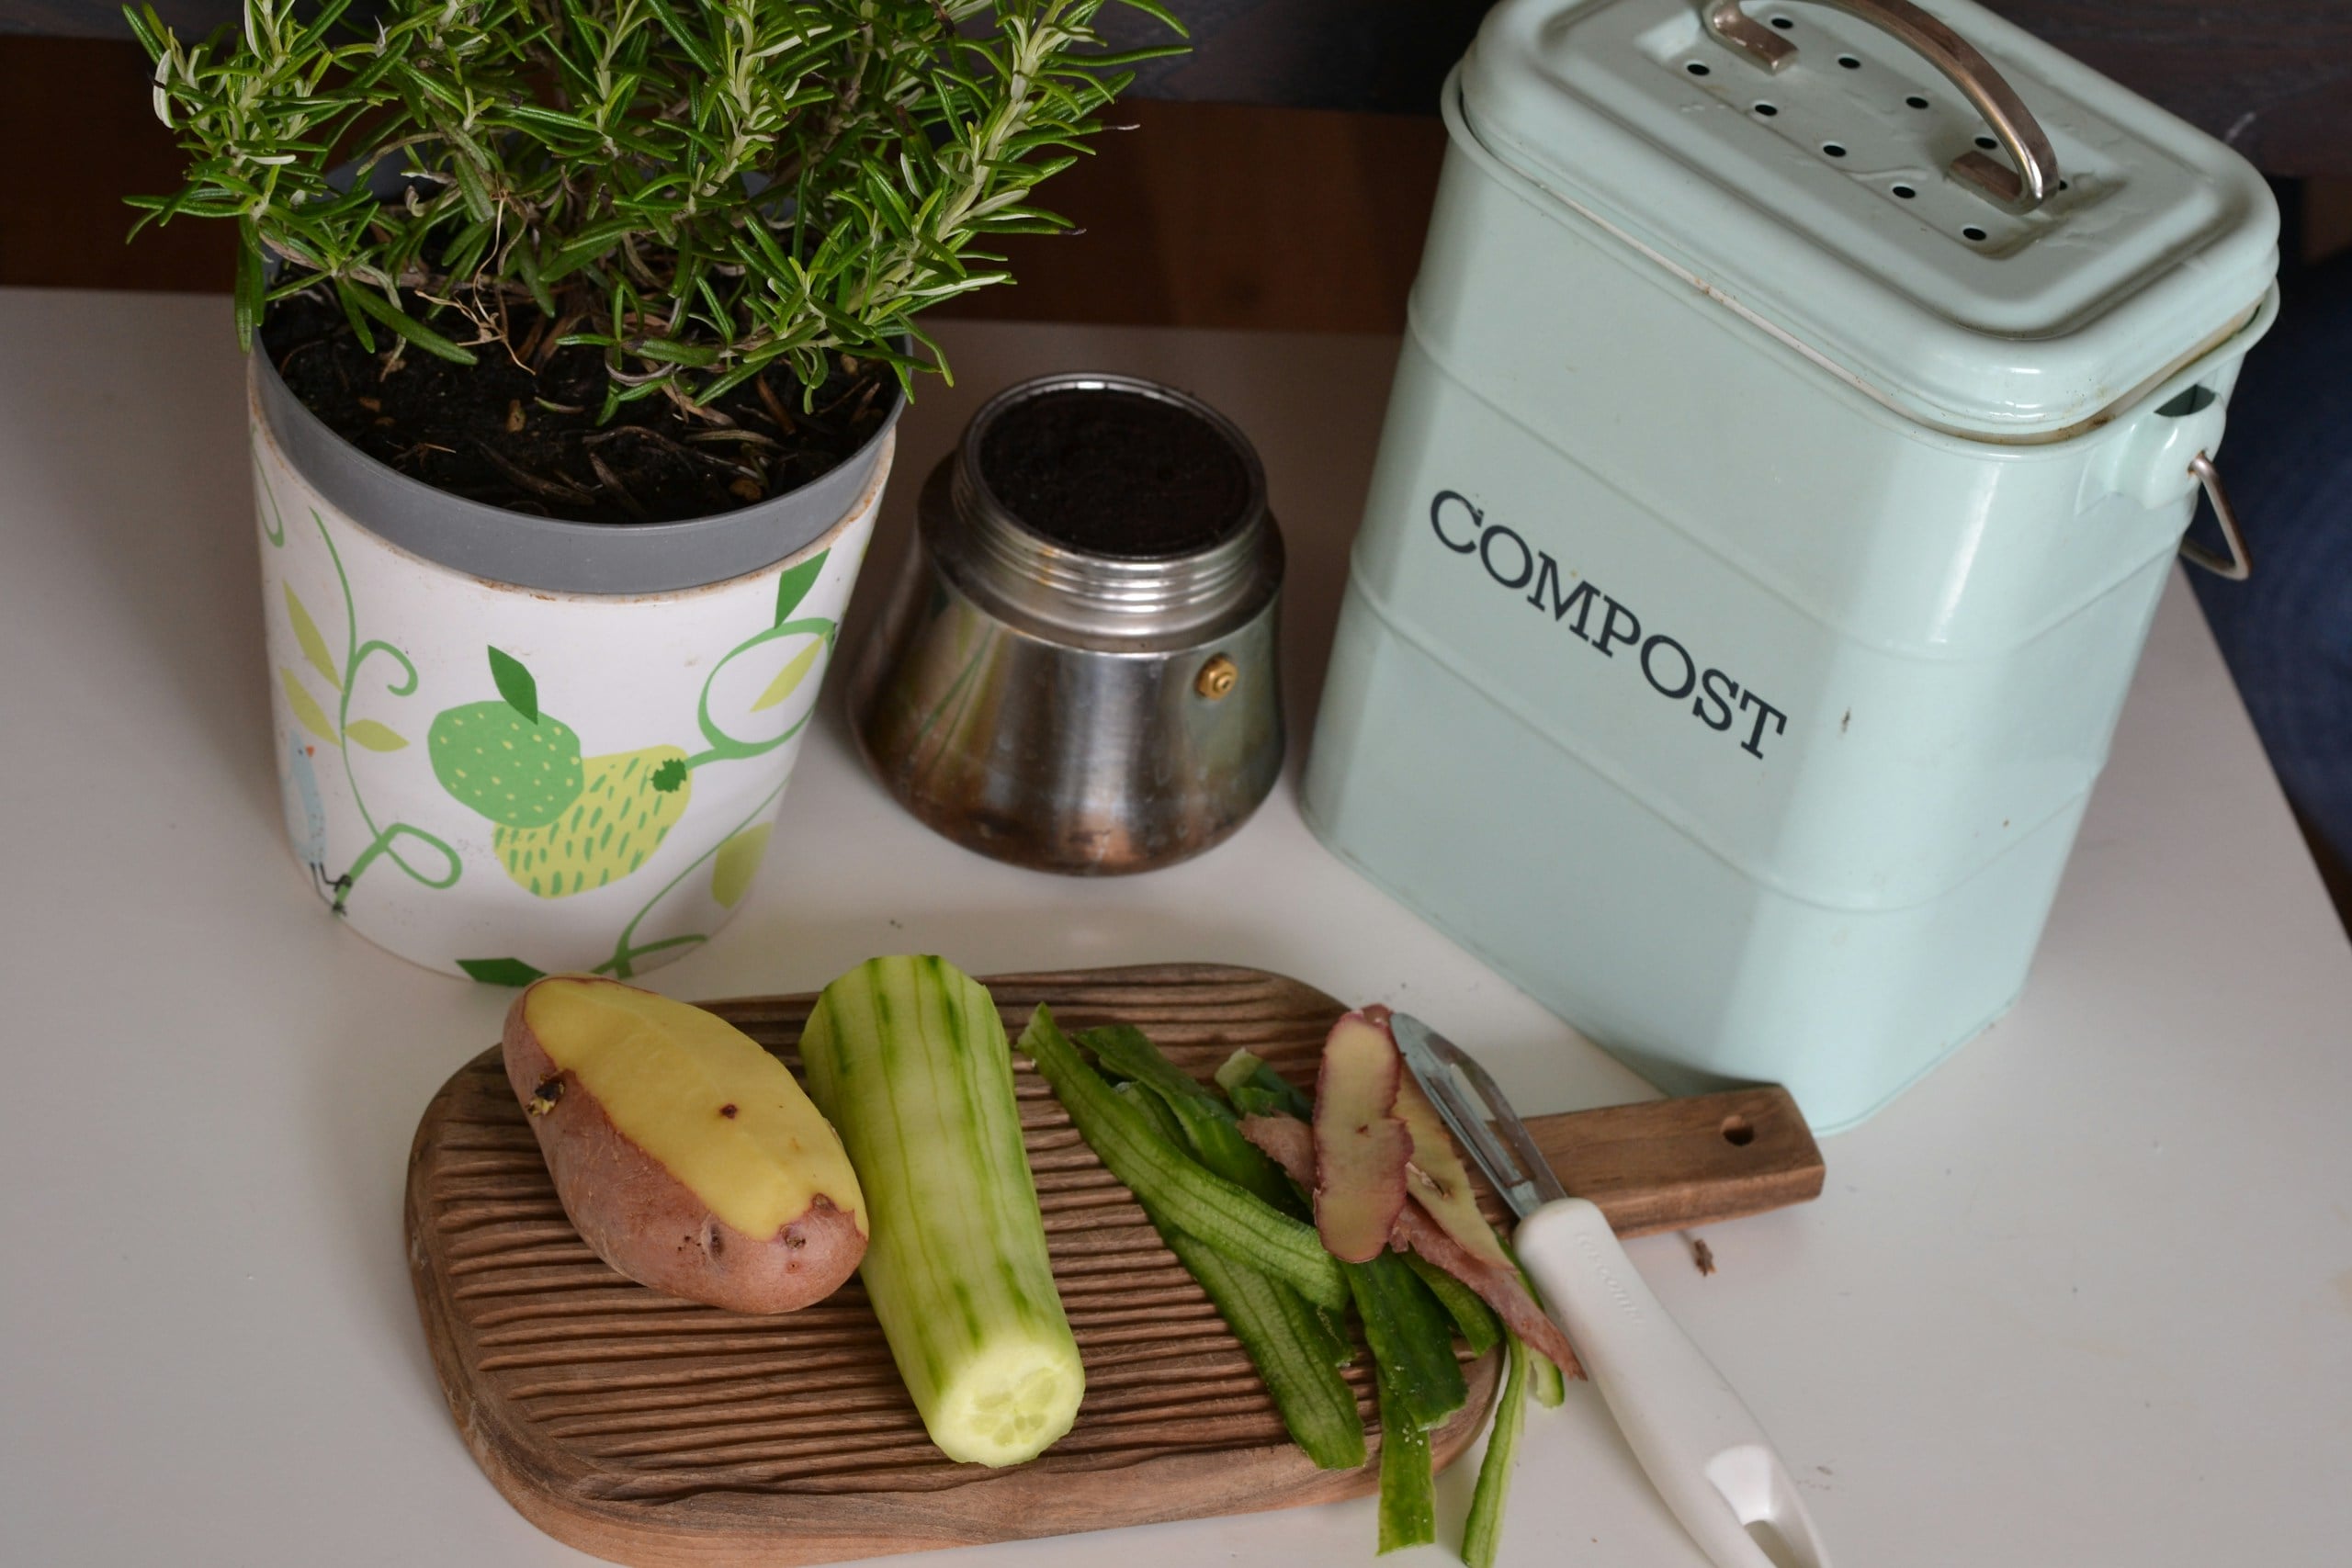
Living in an apartment doesn’t mean you have to give up on growing things, either. From sunny windowsills to compact balconies, there are plenty of ways to garden without a yard. Our apartment gardening guide shares practical ideas for making the most of small spaces, including what you can grow and how to get started.
Common Composting Problems & How to Fix Them
Even experienced composters occasionally end up with a soggy pile, unwanted visitors, or scraps that seem to take forever to break down. The good news is that most composting problems have simple solutions, and you usually don’t have to start over.
| Problem | What’s Happening | How to Fix It |
|---|---|---|
| Compost smells rotten | The pile is too wet or doesn’t have enough oxygen. | Mix in dry leaves or shredded cardboard and turn the pile. |
| Compost smells like ammonia | Too many nitrogen-rich greens. | Add more browns and mix thoroughly. |
| Compost is attracting flies | Food scraps are exposed. | Bury scraps and cover with several inches of dry browns. |
| Rodents or other animals visit | Food is accessible, or the bin isn’t secure. | Remove tempting scraps and use a pest-resistant bin. |
| Compost isn’t breaking down | The pile may be too dry, cold, or poorly balanced. | Check moisture, mix the materials, and adjust the greens and browns. |
| Compost is soggy or slimy | Excess moisture and poor airflow. | Add bulky browns, improve drainage, and turn the pile. |
| Compost has lots of large pieces | Woody materials take longer to decompose. | Shred larger pieces or sift them out later. |
How to Keep Animals Out of Your Compost
A well-maintained compost pile shouldn’t smell like rotting garbage or become a regular buffet for neighborhood wildlife.
To make your setup less inviting:
- Bury fresh kitchen scraps beneath four to eight inches of dry leaves or other brown materials.
- Keep meat, dairy, grease, and other animal-attracting foods out of ordinary backyard compost.
- Use a sturdy bin with a secure lid and pest-resistant base if rodents are common.
- Clean up spilled food scraps around the composting area.
- Avoid overfilling your bin or leaving food waste exposed.
Remember: A wire-mesh DIY bin is excellent for leaves and yard debris, but an enclosed, rodent-resistant bin is a better choice when wildlife is a concern.
If your compost smells unpleasant, don’t immediately assume something has gone terribly wrong. Start by checking moisture, adding dry browns, and improving airflow. A few adjustments can often get things back on track.
How to Use Finished Compost in Your Garden
After weeks or months of collecting scraps, mixing materials, and checking your pile, you’re finally ready for the fun part: putting that homemade compost to work.
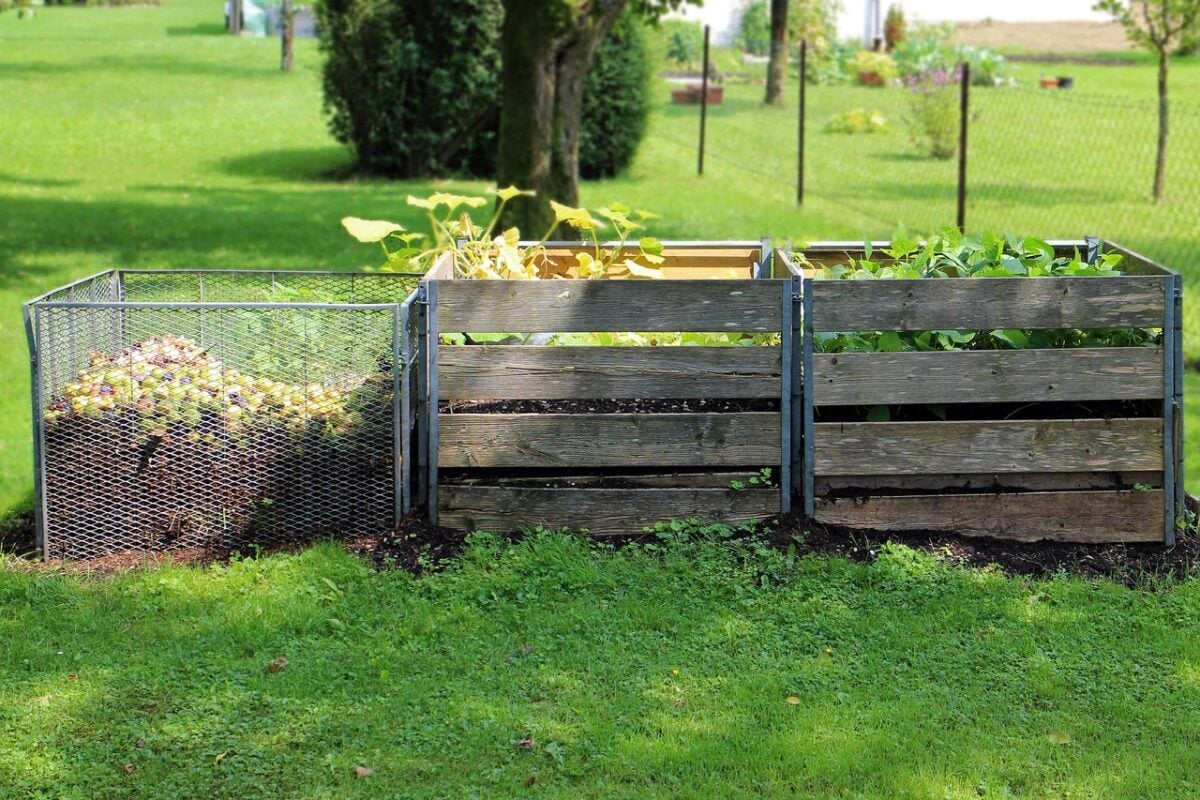
But how do you know when it’s ready?
Finished compost should be dark, crumbly, and smell pleasantly earthy. You shouldn’t be able to recognize most of the original kitchen scraps, and the pile should no longer heat up significantly after turning. Let the material finish curing before using it around plants.
You may still notice a few eggshell pieces, twigs, or other stubborn materials. That’s perfectly normal.
4 Easy Ways to Use Homemade Compost
- Improve garden soil: Mix finished compost into your vegetable or flower beds before planting. It adds organic matter and helps improve soil structure.
- Top-dress established plants: Spread a thin layer of compost around flowers, vegetables, and shrubs, keeping it away from plant stems.
- Refresh containers: Blend mature compost with an appropriate potting mix to give container plants additional organic matter. Don’t use straight compost as your entire potting medium.
- Use it as mulch: Apply finished compost to the soil surface to help retain moisture and gradually improve the soil beneath it.
Homemade compost is a wonderful way to improve your soil, but it doesn’t always supply every nutrient your lawn or garden needs. If your plants could use an extra boost, explore our guide to organic lawn and garden fertilizers to learn about additional options and how to use them.
What About the Pieces That Haven’t Broken Down?
Don’t throw them away! You can sift finished compost through a garden screen or a homemade frame covered with hardware cloth.
Set aside the larger twigs, pits, and other unfinished organic pieces, and return them to your active compost pile. They’ll continue breaking down while you put the finished material to work.
Here’s another handy idea: If you have room, keep two compost bins going. Add fresh scraps to one while the other finishes decomposing. This makes it easier to harvest mature compost without having to separate it from yesterday’s vegetable peelings.
How to Compost Fall Leaves and Yard Waste
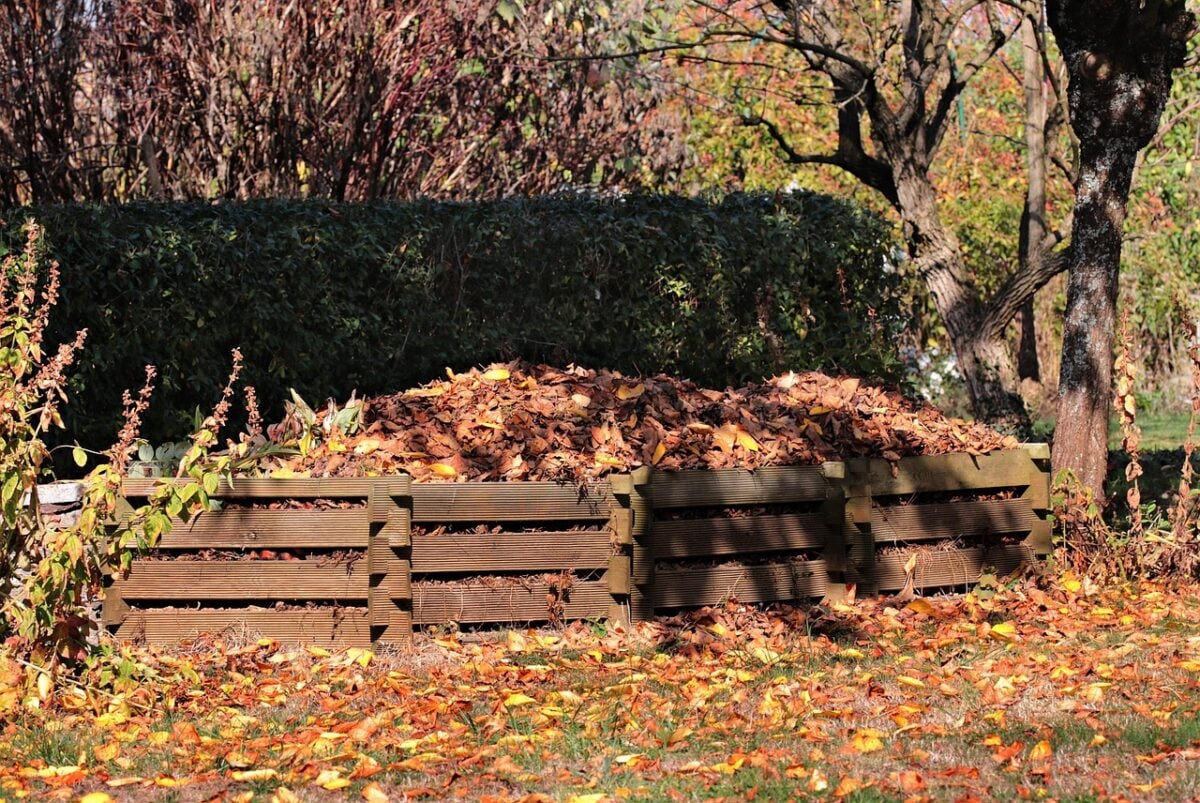
If your yard disappears beneath a blanket of leaves every autumn, you’ve already got one of the best ingredients for homemade compost. Instead of bagging everything up for trash collection, you can turn much of that seasonal cleanup into something useful for next year’s garden.
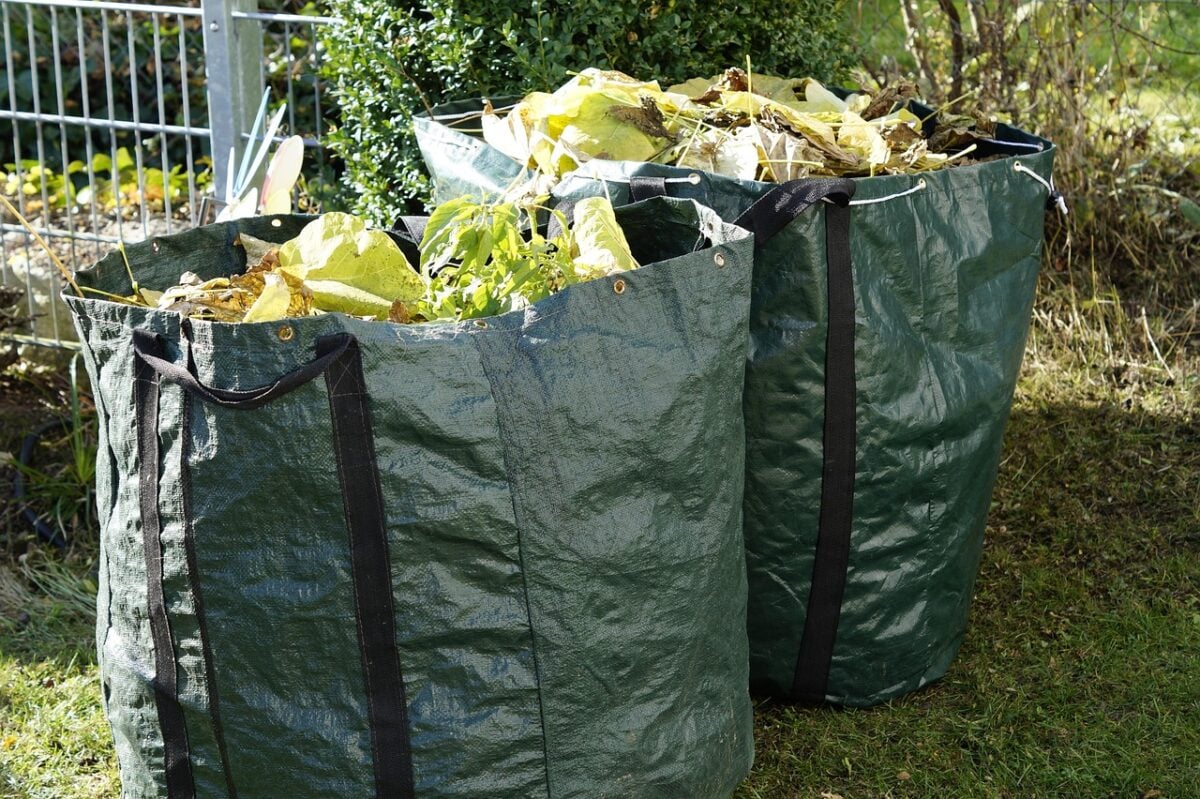
But before you dump an entire mountain of leaves into your compost bin, there are a few tricks worth knowing.
5 Smart Ways to Make the Most of Fall Yard Waste
- Shred leaves before composting them. Whole leaves can mat together, especially when wet, slowing decomposition. Run over collected leaves with a lawn mower or use a leaf shredder to help them break down faster.
- Mix leaves with nitrogen-rich greens. Dry leaves are carbon-rich, so combine them with grass clippings, vegetable scraps, or other greens. A pile made almost entirely of dry leaves will generally decompose more slowly.
- Save extra leaves for later. Fill a breathable container or designated storage area with dry leaves so you have a supply of browns throughout winter and spring. They’re perfect for balancing fresh kitchen scraps.
- Be selective about garden cleanup. Healthy vegetable plants, annual flowers, and other untreated plant trimmings can go into your pile. Keep diseased or pest-infested plants, invasive roots, and weeds with mature seeds out of ordinary backyard compost.
- Don’t worry if composting slows during winter. Cold temperatures reduce microbial activity, and a pile may even freeze. Keep collecting suitable materials when practical, then give everything a good mix as temperatures warm up.
Creating a healthier backyard doesn’t have to stop with composting. If you’re interested in supporting pollinators and getting more involved with the natural world around you, our beginner’s guide to beekeeping explores what it takes to raise honey bees, from choosing equipment to caring for a hive.
An Even Easier Option: Make Leaf Mold
Got more leaves than you know what to do with? Try making leaf mold.
Unlike traditional compost, leaf mold is made primarily from decomposed leaves. It’s an easy, low-maintenance way to recycle fall debris without constantly balancing greens and browns.
Simply gather fallen leaves into a wire bin or breathable leaf bag, moisten them lightly, and let them break down. Shredding the leaves can speed things up, but patience is still necessary. Depending on the conditions, leaf mold can take a year or longer to develop.
The finished material is dark and crumbly and makes a wonderful soil conditioner or mulch.
One more thing: You don’t have to collect every leaf from your yard. A light layer of fallen leaves in garden beds can provide habitat for beneficial insects and help protect the soil. Move thick piles off lawns where they might smother the grass, and put the excess to work in your compost.
Home Composting FAQs
Wondering whether you can keep composting through winter, if your bin needs direct sunlight, or why your pile isn’t breaking down as quickly as you expected? These are common questions when you’re getting started, and a few simple adjustments can make a big difference. We’ve answered some of the most frequently asked home composting questions below.
Have a composting question we haven’t covered? Leave it in the comments! Whether you’re dealing with a stubborn pile of leaves, unexpected odors, or something else entirely, we’d love to hear what’s happening in your compost bin and help you find a solution.
Can You Compost in the Winter?
Yes! You can continue composting during winter, although cold temperatures slow down decomposition. In particularly cold climates, your pile may freeze and become inactive until temperatures rise. Keep adding suitable materials when practical, and cover fresh food scraps with browns. Your compost should become more active as the weather warms up.
Does a Compost Bin Need to Be in the Sun or Shade?
Either can work. A sunny location may help warm your compost, but it can also dry out faster. Partial shade can help retain moisture, especially during hot summers. Good drainage, adequate airflow, and easy access are more important than finding the perfect amount of sunlight.
Do You Need Worms to Make Compost?
No. Bacteria, fungi, and other naturally occurring microorganisms do most of the decomposition work. Earthworms may move into an outdoor pile on their own, but you don’t need to add them. Dedicated worm composting systems are different because they rely on specific composting worms.
Can You Compost Without Turning the Pile?
Absolutely. Turning helps introduce oxygen and can speed up decomposition, but you can still make compost without regularly turning it. The process will generally take longer, so make sure the pile has a good mix of materials and isn’t overly wet or compacted.
How Do You Know if Your Compost Is Working?
Healthy compost usually smells earthy rather than rotten. Over time, the materials should gradually break down, darken, and become less recognizable. Some piles warm up as microorganisms work, but smaller or cooler piles may never get noticeably hot. Slow progress doesn’t necessarily mean something is wrong.
Keep Growing: More Ways to Make Your Garden Thrive
Once you start turning kitchen scraps and fallen leaves into compost, it’s hard not to look at the rest of your yard a little differently. Those vegetable peelings suddenly have a purpose, and even autumn cleanup feels more rewarding when you know some of it will feed next year’s garden.
And composting is just the beginning. If you’re ready to put that homemade compost to good use, here are a few more projects and ideas worth exploring:
- Build a Raised Garden Bed Without Spending a Fortune: Put your finished compost to work in a DIY raised bed that’s affordable, customizable, and beginner-friendly.
- Create a Wildlife-Friendly Garden: Learn how to make your outdoor space more welcoming to birds, pollinators, and other beneficial wildlife.
- Collect Rainwater for Your Garden: Explore rain barrels and simple ways to collect water for your plants while making the most of another natural resource.
You don’t have to tackle everything at once. Start with a compost bin, see what works in your space, and build from there. Sometimes the most rewarding garden improvements begin with things you already have lying around.
What’s Your Biggest Composting Challenge?
Have you tried composting at home, or are you still figuring out where to start? Maybe you’ve dealt with a smelly pile, curious backyard critters, or kitchen scraps that seem determined never to decompose. We’d love to hear about it!
Share your questions, composting successes, or lessons learned in the comments below. Your experience might be just what another beginner needs to get started.